
Last updated November 17, 2026








Free written scope consultation - allowances, timeline, and change-order rules on paper before a single trade is scheduled
Bathroom Remodeling Troubleshooting: Common Problems and How to Fix Them
If your new tile grout is cracking within the first year, the problem almost certainly wasn’t the grout – it was what happened before the tile went down. Most bathroom remodel problems don’t announce themselves. They show up six months later as a soft floor, a hairline crack at a corner, or a fixture that never quite seated right. In our experience across Whitney, the finished surface is usually just the messenger; the real cause sits one or two layers beneath it. This guide works backward from the symptom to the root cause, so you can tell a workmanship defect from a material failure from ordinary settling, and know what to do next.
Quick Answer
Most bathroom remodeling problems trace back to three root causes: failed waterproofing behind tile, movement in the subfloor or framing, and poor ventilation. Grout cracks, soft floors, separating caulk, and recurring fixture leaks are symptoms, not the disease. The fix depends on correctly identifying the cause – patching a surface without addressing waterproofing, movement, or airflow usually means the problem returns within a year.
Styles & brands we work with
- Kitchen remodeling
- Bathroom remodeling
- Home additions & ADU
- Roofing
- Windows & doors
- Driveway & pavers
- Fence
Table of Contents
- Soft or Bouncy Subfloor: What It’s Telling You
- Grout Cracking in the First Year: Workmanship or Settling?
- Caulk That Separates or Turns Black
- Fixture Leaks That Keep Coming Back
- Reading Waterproofing Failures From the Finished Surface
- Ventilation Problems Posing as Tile or Paint Failures
- Workmanship Defect vs. Normal Material Wear
- How to Document a Problem and Get It Addressed
Soft or Bouncy Subfloor: What It’s Telling You
A floor that gives slightly underfoot, or a tile that sounds hollow when tapped, is one of the earliest signs of a problem below the surface. In a bathroom, the subfloor takes on more water exposure than anywhere else in the house, and it carries the weight of tile, fixtures, and people. When it feels soft, the culprit is usually moisture that got past the waterproofing layer, or a subfloor that wasn’t properly secured or replaced during the remodel.
Here’s how we sort the two apart:
- Tap test. A hollow, drum-like sound over a section of tile often means the thinset didn’t bond fully or the subfloor has separated.
- Press test. Stand in the middle of the floor and shift your weight. If the whole plane flexes, the issue is structural – joist spacing, inadequate subfloor thickness, or missing blocking.
- Humidity check. Run a moisture meter at the base of walls and around the toilet flange. Elevated readings usually point to a waterproofing breach rather than a framing problem.
In Whitney, we see soft subfloors most often around the toilet flange and at shower thresholds, where water sits against a seam. Fixing the surface – recaulking, resetting a tile – without replacing the compromised section of subfloor is a temporary patch. The correct repair starts with removing the affected area, confirming the framing is sound, and rebuilding the waterproofing assembly before any surface goes back down.
Grout Cracking in the First Year: Workmanship or Settling?
Grout is the most visible symptom in any bathroom remodel, and it’s also the most misdiagnosed. If cracks show up within the first year, the grout itself is rarely at fault. Grout is brittle; it cracks when the surface beneath it moves. The real question is whether that movement is expected settling or a workmanship issue that should be corrected.
Use these signals to tell them apart:
- Cracks following a straight line or a corner: usually movement at a change of plane – where wall tile meets floor tile, or where two backer board panels join. This is typically a workmanship issue if the joint wasn’t properly supported or a flexible sealant wasn’t used at the change of plane.
- Spider-web or map cracking across a field of tile: often points to inadequate thinset coverage or a subfloor that moves. This is a callback.
- Isolated hairline crack near a fixture or drain: could be normal settling in the days after installation. If it appears within the first few weeks and doesn’t grow, monitor it.
- Cracks that widen or recur after regrouting: the underlying movement was never addressed.
At a change of plane, the correct material is a flexible sealant, not rigid grout. Rigid grout at an inside corner will crack as the two planes expand and contract at different rates. If a contractor grouted those joints instead of caulking them, that’s a workmanship defect – and it’s a legitimate reason to call them back. If you’re planning a remodel rather than diagnosing a finished one, our Bathroom Remodeling in Whitney page covers how we build the assembly so the grout has a stable base.
Caulk That Separates or Turns Black
Caulk that pulls away from a tub or shower wall, or that darkens with black spots along the seam, is one of the most common reasons homeowners call us. The mistake is thinking the caulk went bad. In most cases the caulk is fine – it’s failing because moisture is behind it, or because it was applied over a moving joint or a wet surface.
The black discoloration is usually mildew feeding on moisture trapped between the caulk bead and the surface. Cleaning the surface and reapplying caulk without finding where the water is coming from guarantees the same result in a few months. The fix is to cut the old bead out, dry the joint completely, confirm no water is seeping from behind, and use a mildew-resistant sealant rated for wet areas.
Separated caulk at a tub-wall joint often traces to movement: the tub flexes slightly when filled with water and catches the weight of a person, while the wall is rigid. That joint needs an appropriate flexible sealant, and it needs to be applied to clean, dry material. If the separation is recurring at the same spot, it’s a sign of ongoing moisture or movement that a surface application won’t solve. That’s the difference between a quick maintenance touch-up and a callback-worthy issue.
Fixture Leaks That Keep Coming Back
A persistent drip under a sink or a puddle at the base of a shower doesn’t always mean the fixture is defective. Fixture leaks that return after being “fixed” almost always trace to installation. A toilet that rocks, a shower valve with a slow weep, or a drain that leaks at the gasket – these are installation issues, not wear issues, and they show up as staining on the ceiling below or a musty smell near the cabinet base.
Here’s what to check first:
- Toilet stability. If the bowl rocks even slightly, the wax seal is at risk of breaking. Replacing the seal is the right fix; resetting with a new seal and shimming the bowl to sit level is how you stop the repeat.
- Supply line seating. A dripping supply connection often means the line wasn’t properly seated or the washer was damaged on install. A short-term tightening isn’t a fix if the threads or fitting are compromised.
- Shower valve and drain gaskets. A drip that only appears when the shower runs, or that stains the ceiling below the shower, usually means the valve body or drain gasket isn’t sealed.
- Trap and tailpiece joints. Looseness at the trap, or a tailpiece that was cut too short, shows up as a slow drip after every use.
When you choose name-brand fixtures – Kohler and Moen have been our standby partners – the parts are backed by the manufacturer, so a genuine defect is coverable. But a leak that shows up within the first year of a remodel is more often an installation issue than a product issue. That’s a workmanship conversation, not a warranty call on the faucet.
Reading Waterproofing Failures From the Finished Surface
Waterproofing sits behind the tile, so by the time it fails visibly, it’s been failing invisibly for months. In Whitney’s climate, bathrooms take a particular beating: dry, hot summers followed by the daily humidity of an occupied shower create rapid cycles of expansion and contraction that stress any weak point. The finished surface gives you clues long before you see a ceiling stain.
Watch for these signals:
- Grout that darkens and never fully dries near the shower base or on the shower floor – moisture is sitting behind the surface.
- Efflorescence, a white powdery deposit, at grout lines and the base of walls. That’s salt migrating to the surface from behind.
- Loose or hollow-sounding tiles in the shower area, which often means the thinset and backer have lost bond because of moisture.
- A musty smell in the bathroom that doesn’t clear with ventilation.
- Swelling paint or drywall on the wall behind the shower or on the opposite side of the tiled wall.
Behind the tile, the proper construction is a waterproof membrane over cement backer board, with all seams taped, corners and penetrations sealed, and proper slope to the drain. Skip any of those steps and the surface gives you the symptoms above within a year or two. Reputable installers use systems like Schluter waterproofing assemblies and will account for slope, seam taping, and penetration seals as part of the build. Once you’re seeing symptoms, the correct fix involves removing the finish surface to inspect the waterproofing layer – patching the grout line won’t help.
Ventilation Problems Posing as Tile or Paint Failures
Some of the most expensive-looking problems in a bathroom – peeling paint on the ceiling, recurring mildew, grout that never dries – have nothing to do with the tile or the paint. They’re airflow problems. A bathroom without adequate exhaust holds moisture on every surface after a shower, and the moisture has to go somewhere. It settles into grout, into paint, into the seams of a shower enclosure, and eventually into the wall assembly.
Get this wrong and you’ll be fixing the surface every year:
- Check the fan. Turn on the exhaust fan and hold a piece of toilet paper up to the grille. If it doesn’t stick, the fan isn’t pulling air. That could be a dead fan, a clogged duct, or a duct that terminates in the attic rather than outdoors.
- Run time. A fan that runs for two minutes after a shower doesn’t clear the air. It needs to run for 15 to 20 minutes after the last person leaves the bathroom.
- Duct routing. Flexible duct that droops, kinks, or is packed with insulation moves very little air. In Whitney attics, we’ve seen ducts crushed against roof decking and sitting loose at the roof penetration. A short, rigid, insulated run to the outside is what a real fix looks like.
- Beyond exhaust. A bathroom that stays damp even with a working fan may need more airflow overall – a better-designed fan, a timer switch, or in a windowless bathroom, a dew point or humidity sensor.
Fixing the paint without fixing the airflow wastes money. You’ll repaint the ceiling, and within a season the blistering will be back. Address the moisture source first; then the surface fix will hold.
Workmanship Defect vs. Normal Material Wear
One of the questions we hear most often: “Is this something my contractor should fix, or just normal wear?” The answer matters because it decides who pays and whether the fix is a patch or a rebuild. Here’s the distinction we use in the field.
Workmanship defects usually share these traits:
- The problem shows up within the first year, often within weeks.
- It appears in a pattern – a line, a corner, a repeat location.
- It’s in a place where standard practice or code is clear: change-of-plane joints should be flexible, subfloors should be level and secure, waterproofing should be continuous.
- It gets worse after a surface repair.
Normal material wear shows up differently:
- It takes years to appear, not weeks or months.
- It appears in high-wear zones – the shower floor, the base of the tub, the toilet sealing surface – where movement and moisture are expected to eventually take a toll.
- It’s cosmetic, not structural – a dulled finish, a worn grout line at the shower door, or darkening caulk that’s simply reached the end of its service life.
A reliable contractor will acknowledge the first category and make it right; a well-built bathroom will delay the second category for years. The best indication of which contractor you’re dealing with is what they say when you describe a symptom that could fall into either category.
How to Document a Problem and Get It Addressed
The way you present a problem to a contractor often decides whether it gets fixed or deflected. A vague verbal description over the phone makes it easy to say “that’s normal” or “we can look at it in a few weeks.” A clear, specific, documented message makes it easy to schedule a callback. Here’s how to do it.
- Photograph the problem. Take wide shots to show location and close-ups to show detail. Include a reference object like a coin or a tape measure for scale.
- Record the timeline. Note when the work was finished and when the symptom first appeared. A problem that shows up in week two carries more weight than one a year in.
- Test for context. Does the problem get worse after a shower? Does it change with the weather? Does the hollow sound move location? Note it.
- Write it down in plain language. “Grout cracking at the shower floor/wall joint, appeared within three weeks of install, water from the shower seeps behind the tile at that line.” That’s specific and hard to deflect.
- Ask for a specific next step. “Can we schedule a visit to evaluate this?” is a better ask than “Is this normal?” – it puts a walk-through on the calendar.
The clearer the documentation, the faster a real contractor responds. At Sawyer Remodeling Whitney, documentation lives on both sides: we send photo updates before and after, and the project has a written record from the walk-through on. When you call with a checklist in hand, you’re speaking the same language.
Common Mistakes to Avoid
- Patching grout over a moving joint. Regrouting a change of plane that should be flexible sealant buys you months, not years – the new grout will crack at the same line. Fix the joint type, not the grout.
- Reapplying caulk without checking for moisture behind it. In Whitney, we’ve replaced plenty of caulk that was fresh over a leaking drain gasket. Dry the joint and find the water source before the new bead goes down.
- Repainting or resurfacing a bathroom without addressing exhaust. A ceiling that blisters or a wall that grows mildew will repeat the same way until airflow is right.
- Accepting a verbal “we’ll take care of it” without a date. A promise without a scheduled visit is a deferral. Ask for a specific window.
- Skipping the permit on a plumbing or electrical change. If you’re changing the footprint of a shower or moving a fixture, it’s a permit and inspection job – and that record matters at resale.
- Judging workmanship by the surface alone. The photos that matter in a bathroom project are the ones taken before tile, waterproofing, and backer board are covered – that’s where the defects are hidden.
- Taking on waterproofing or a shower pan yourself. A shower pan or full waterproofing assembly has no accessible path to fix it once the finish surface is on. If it’s wrong behind the tile, the only fix is to tear out.
See the difference
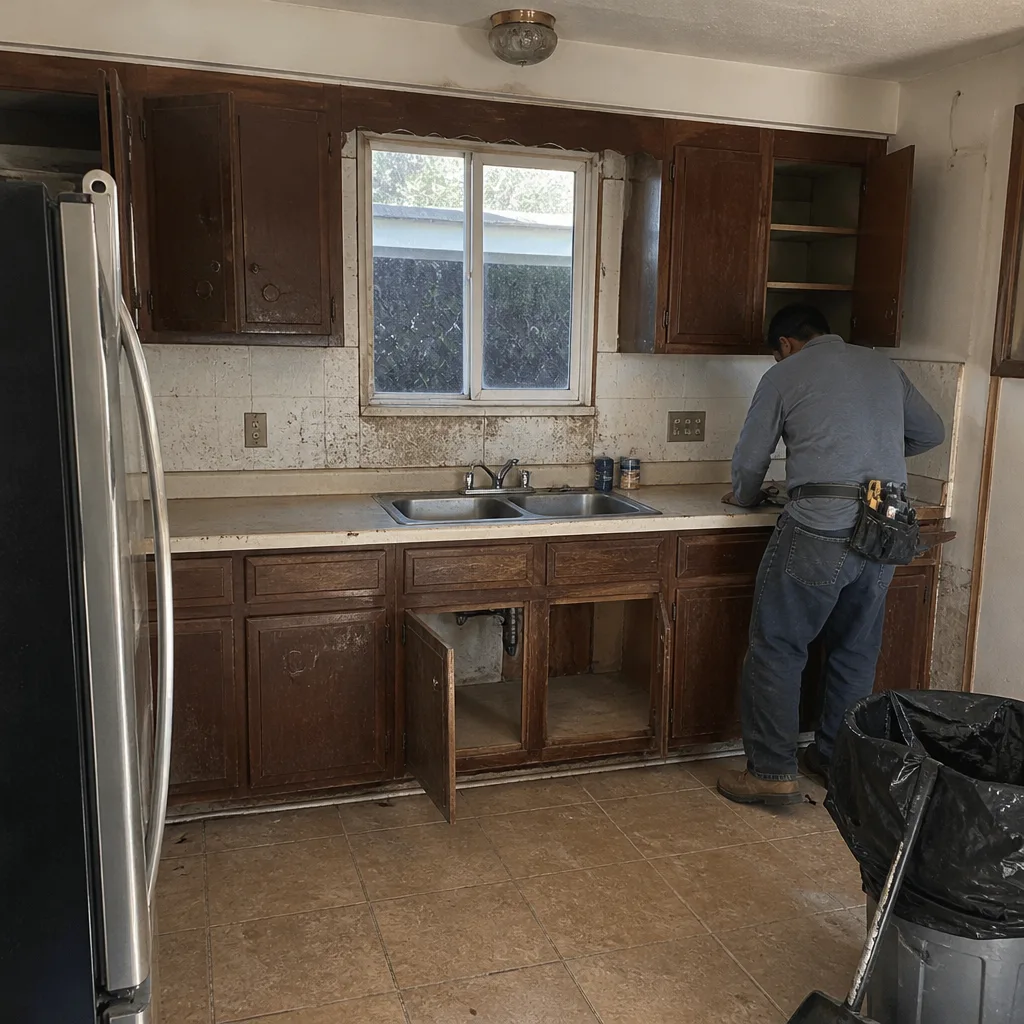 Before
 After
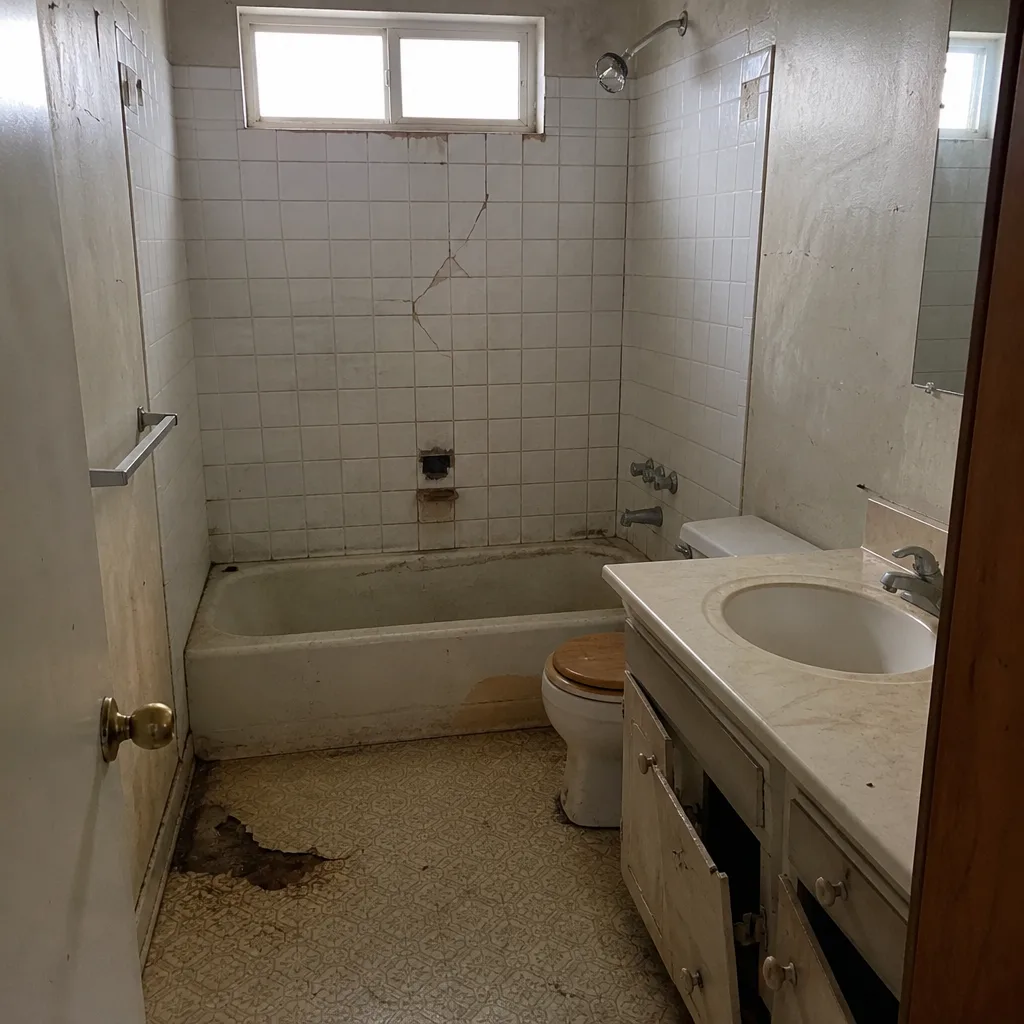 Before
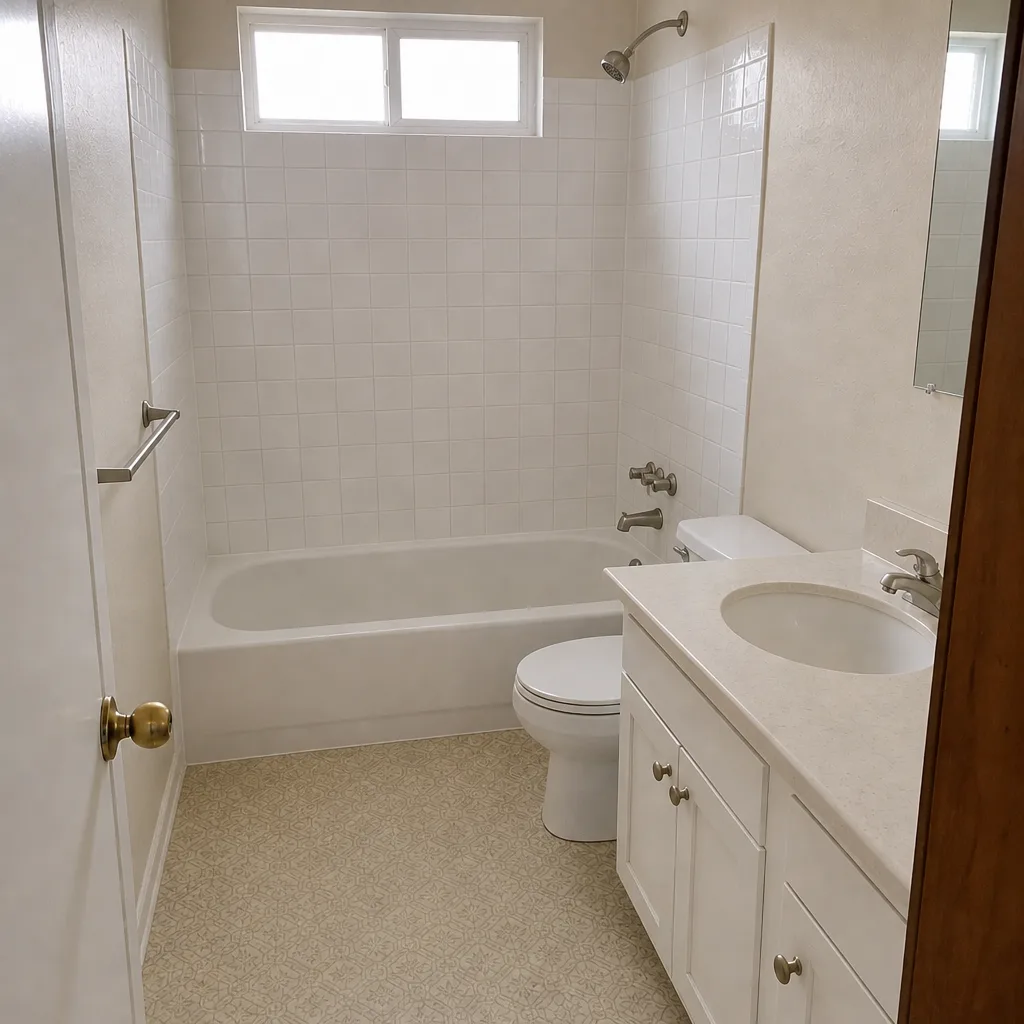 After
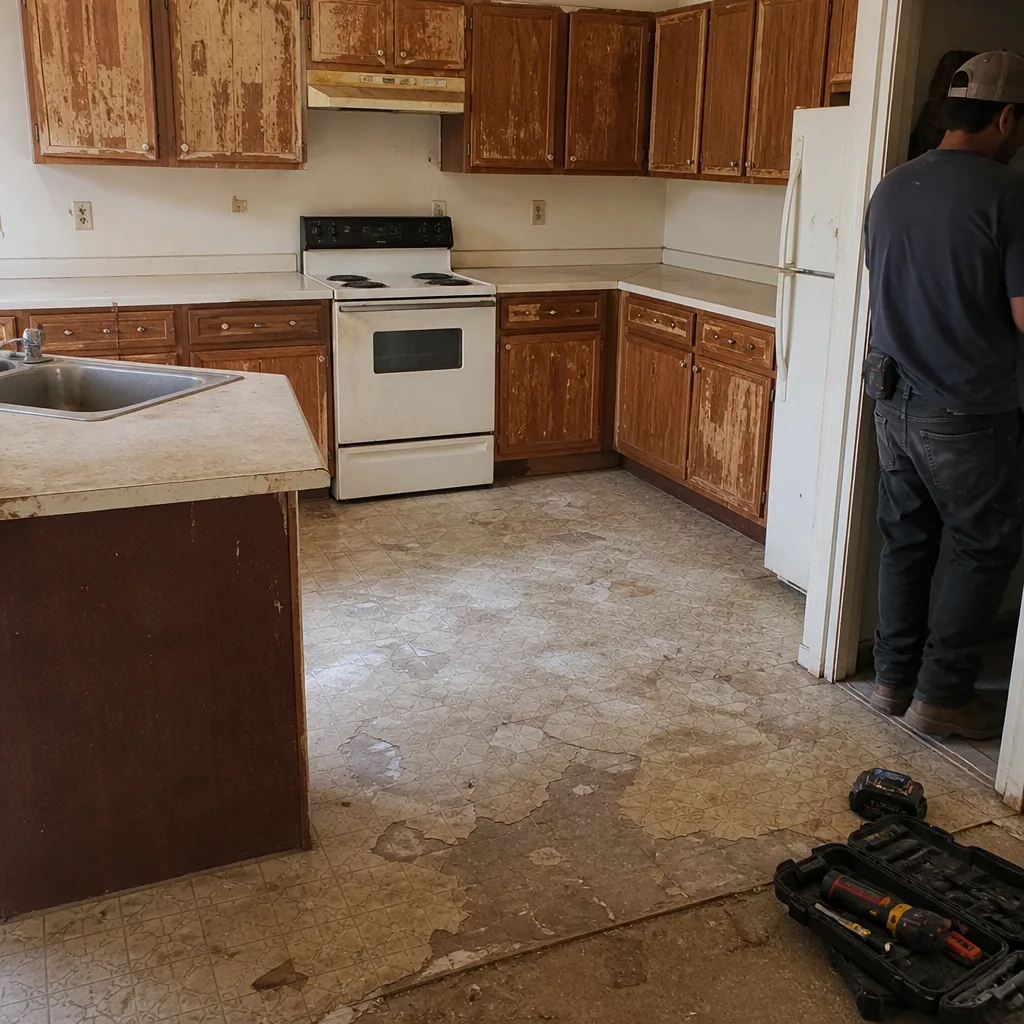 Before
 After
When to Call a Professional
Call a professional when the symptom has a likely cause you can’t see – a soft or hollow-sounding floor, recurring moisture at the base of a shower, grout or caulk that fails again after a repair, or a ceiling stain below a bathroom. These are signs of a waterproofing, framing, or plumbing fault that hides behind the finish surface, and the only way to fix it correctly is to open it up, inspect, and rebuild. Also call when the job involves moving a fixture, changing a shower footprint, or electrical work – that’s permit territory, and in Whitney the inspection record protects you later. If you’re midway through a project and unsure whether a problem is a defect or normal wear, a second look is worth the visit. Sawyer Remodeling Whitney offers free estimates in Whitney – call (833) 570-8789, and we’ll walk through what’s happening, what it likely caused, and what it would take to fix it right.
Frequently Asked Questions
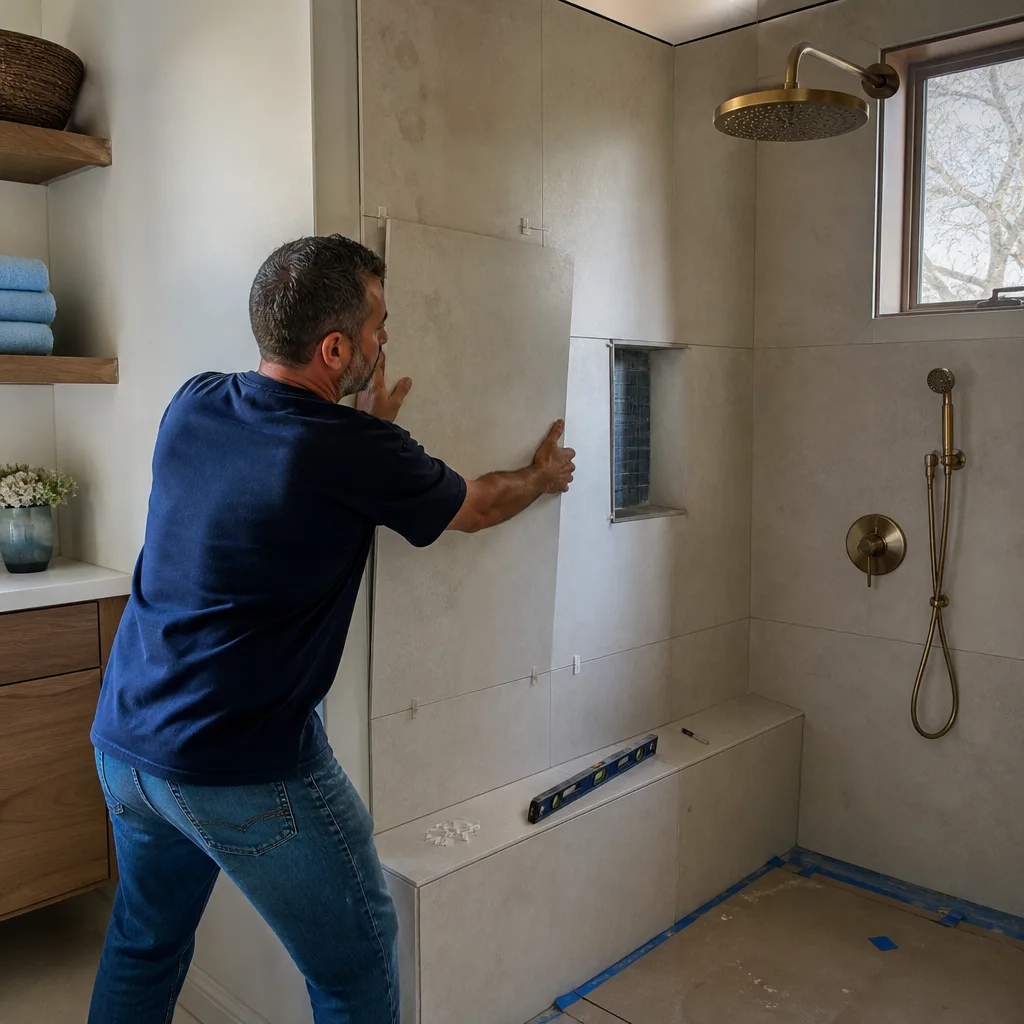
Grout cracking within the first year almost always means movement under the surface, not a bad batch of grout. It’s most common at change-of-plane joints, where rigid grout should have been flexible sealant, or over a subfloor that flexes. The right fix starts with identifying the movement; just regrouting will produce the same crack again. If the crack appeared within weeks of install, call your contractor – it’s a legitimate workmanship callback. Call (833) 570-8789 for a free estimate if you’d rather have a professional diagnose it.
Waterproofing problems show up as symptoms on the finished surface before visible water damage. Look for grout that stays dark and never fully dries, white powdery efflorescence at grout lines, loose or hollow-sounding tiles in the shower, a persistent musty smell, or paint and drywall swelling on the wall behind the tile. Any of these is a sign to inspect behind the finish surface. A professional can confirm whether it’s a waterproofing failure or a surface maintenance issue with a short diagnostic visit.
Not an emergency, but not something to wait on either. A soft or bouncy bathroom floor usually means moisture has compromised the subfloor or the framing, and the longer it sits, the more of the assembly has to be replaced. Left alone, it can lead to a failed tile field and damage to the ceiling below. If you notice a soft spot near the toilet flange or shower threshold, get it looked at before it spreads.
Yes. An exhaust fan that dumps into the attic instead of running to the exterior moves moisture from the bathroom into the attic, where it condenses on the roof deck and framing. That’s the source of a lot of the mold and staining we see in Whitney homes – not the bathroom itself. The fix is to route the duct, rigid and insulated, to a proper roof or wall termination. A quick check: hold toilet paper to the grille and see whether the fan pulls it.
Black caulk is mildew growing on trapped moisture, not the caulk itself failing. The moisture is either sitting between the caulk and the surface or seeping from behind the joint. Cleaning and reapplying without finding the water source gives you the same black line within months. Cut out the bead, dry the joint thoroughly, confirm there’s no leak feeding it, and use a mildew-resistant sealant rated for wet areas.
For plumbing or electrical changes – moving a fixture, adding a circuit, changing a shower or tub footprint – yes. Cosmetic work like retiling a surface or painting doesn’t typically require one. Permits and inspections are about the record as much as the code: they document that the work was done right, which you’ll want in hand at resale. Ask any contractor you hire who’s pulling the permit and confirm it’s on the written price before work starts.
The Bottom Line
Almost every bathroom problem you’ll see on the surface – cracking grout, separating caulk, a soft floor, recurring drips – starts somewhere hidden. The grout didn’t fail; the movement did. The caulk didn’t rot; the moisture behind it did. The paint didn’t peel; the airflow did. Diagnose the root cause first, and a proper repair follows from there. Distinguish a workmanship defect from normal wear using timing, location, and pattern. Document the problem clearly so it gets fixed, not deflected. And when the fix involves waterproofing, framing, or moving fixtures, bring in a professional – that’s a job that has to be right the first time, because opening it up later costs far more than doing it correctly now. For a question about your specific bathroom in Whitney, call (833) 570-8789 to schedule a free estimate. You can also start from our Sawyer Remodeling Whitney home, read about our General Contractor in Whitney work, or see how a full Kitchen Remodeling in Whitney project runs on the same Relay Visibility Guarantee – written price before start, live arrival, and photo updates along the way.
Written by the team at Sawyer Remodeling Whitney.