
Last updated November 17, 2026








Free written scope consultation - allowances, timeline, and change-order rules on paper before a single trade is scheduled
Bathroom Remodeling Maintenance Schedule: What to Do and When
Most homeowners treat a finished bathroom like a finished job. The tile is set, the fixtures are in, the invoice is paid, and the next time they look closely at that room is when something leaks through the ceiling below. The single most skipped task after a remodel is the 30-day caulk and sealant check, and it’s the one that decides whether your warranty still covers a failure six months from now. What follows is the maintenance calendar we walk Whitney homeowners through after every project: what to inspect at 30 days, at six months, and every year after, so a ten-dollar tube of sealant doesn’t become a two-thousand-dollar repair.
Quick Answer
A remodeled bathroom needs a 30-day post-project inspection of caulk lines, grout, and drain connections while warranty windows are open, a six-month recheck of sealant and exhaust fan airflow, and an annual cycle of grout review, fixture descaling, and drain cleaning. Skipping the 30-day check is the most common reason small failures turn into expensive water damage.
Styles & brands we work with
- Kitchen remodeling
- Bathroom remodeling
- Home additions & ADU
- Roofing
- Windows & doors
- Driveway & pavers
- Fence
Table of Contents
- The Maintenance Schedule at a Glance
- The 30-Day Post-Remodel Checklist
- Grout Sealing by Tile and Grout Type
- Fixture and Drain Care in Hard-Water Regions
- Exhaust Fan Performance Testing
- Building a 3-Year Maintenance Log
- Common Mistakes to Avoid
- When to Call a Professional
The Maintenance Schedule at a Glance
Here’s the whole calendar in one place. Save this. Print it and stick it inside the vanity cabinet door where you’ll actually see it.
- Day 30: Walk every caulk line with a dry fingertip. Any flex, gap, or dark spot gets flagged. Test the exhaust fan with a tissue. Check under the sink for moisture. Confirm the drain and supply connections aren’t weeping.
- Month 6: Re-inspect caulk at the shower base and tub rim. Check grout haze and any discoloration around the shower floor. Clean the fan grille. Test GFCI outlets. Flush the drain with an enzyme treatment.
- Month 12: Full grout inspection under raking light. Re-seal cementitious grout if water beads stop forming. Descaling cycle on fixtures and showerhead. Fan blade cleaning. Recheck water shutoff valves under sink and toilet.
- Year 2 and beyond: Repeat the annual cycle. Add a caulk replacement every 3-5 years depending on humidity and ventilation. Log everything for warranty and resale documentation.
The schedule in Whitney and the rest of the Las Vegas Valley runs a little hotter than most national checklists assume. Our dry air pulls moisture out of caulk faster, our evaporative scale builds faster on fixtures, and a fan that fails to vent properly leaves surfaces wetter than they’d be in a humid climate. The calendar is the same. The urgency isn’t.
The 30-Day Post-Remodel Checklist
Thirty days after the last tile is grouted is the sweet spot for inspection. The sealant has had time to cure fully and reveal any adhesion problem. Materials have expanded and contracted through a few temperature swings. Any leak in a supply line or drain has had enough time to show itself as a soft spot under the vanity or a faint musty smell.
This is when warranty windows are widest. If you’re working with us through bathroom remodeling in Whitney, that 30-day check is covered by the 365-Day Done Right Promise: if something we installed isn’t right, we make it right. That’s a written commitment, not a verbal pat on the back. Miss the check and you rely on the warranty language alone. Run the check and you have a documented list of findings from the same team that did the install.
Here’s what to actually inspect:
- Caulk at every seam: shower base to tile, tub rim, backsplash to counter, vanity to wall. Press gently with a dry fingertip. If the caulk flexes away from either surface or has pulled into a gap, it needs replacing.
- Grout lines: look for hairline cracks at inside corners and where the floor meets the curb. Grout cracking at a corner typically means it should have been caulk, not grout.
- Under-sink and toilet base: run a paper towel around the supply connections and the base of the toilet. Any dampness means a slow leak that hasn’t announced itself.
- Fan airflow: hold a single-ply tissue against the grille. If it won’t hold, the fan isn’t pulling.
- Door and drawer alignment: hardware works loose in the first month. Snug every screw now before the hinge pulls out.
- Drain flow: fill the sink and shower, release, and watch how fast it drains. Compare to day one.
Write down what you find. Even if it’s “all clear.” A note dated 30 days post-install is exactly the kind of documentation that turns a warranty conversation into a five-minute phone call.
Grout Sealing by Tile and Grout Type
“Seal your grout every year” is the advice you’ll find on every home maintenance site. It’s also wrong for most modern bathrooms. The right question is what kind of grout you have, and the honest answer is that this depends on what was specified for your project in Whitney.
Cementitious sanded or unsanded grout
This is the traditional cement-based grout. It’s porous. It benefits from a penetrating sealer applied once at install and re-applied every 12-18 months, or sooner in a frequently used shower. The test: drip water on a grout line. If it beads up, the sealer is holding. If it darkens the grout, the sealer is gone.
Epoxy grout
Epoxy grout is not porous and does not need annual sealing. It’s essentially its own sealer. Applying a penetrating sealer to epoxy is wasted money. Stay away from acidic cleaners, though, since they dull the finish.
Single-component urethane grout
Urethane grout behaves like epoxy in most respects. No annual sealer required. It does need gentle cleaners and no abrasive scrubbing.
Tile type determines the cleaner, not just the sealer
- Natural stone (marble, travertine): needs a stone-specific pH-neutral sealer and cleaner. Vinegar or bleach will etch the surface permanently.
- Porcelain and ceramic: forgiving on cleaners, but avoid aggressive scrubbing on the grout lines.
- Glass tile: do not seal the tile surface itself, only the grout. Sealer on glass leaves a hazy film.
The one universal rule: seal the grout, never the tile. Sealer on a tile face becomes exactly the hazy coating that hides the finish you paid for. When we finish a bathroom in Whitney, we tell you exactly what grout product was used so you know whether year-one sealing is on the calendar or a waste of your Saturday.
Fixture and Drain Care in Hard-Water Regions
The Las Vegas Valley’s water is hard. That’s not an insult to the water, it’s a calcium and magnesium reality that every Whitney homeowner lives with. Water hardness here typically lands in the 240-300 ppm range, and that number defines your fixture maintenance cadence.
What that means in practice:
- Showerheads: soak in a 50/50 white vinegar and water solution for 30 minutes once a month. In harder months (June through September), every two weeks.
- Faucet aerators: unscrew and soak quarterly. A clogged aerator drops pressure, which people misdiagnose as a failed cartridge.
- Kohler, Moen, and Grohe fixtures (the brands we typically specify): the finishes are designed to resist scale buildup to a point, but the internal cartridges and valve seats still need descaling. A Moen cartridge that starts to feel stiff usually needs a soak in vinegar, not a replacement.
- Drains: run an enzyme-based drain treatment monthly. Harsh chemical drain cleaners damage the finish and can pit stainless drain covers over time.
- Toilet tank: check for scale buildup on the fill valve every six months. A scaled valve runs the toilet silently, which is the most common cause of a phantom water bill increase.
- Glass shower doors: squeegee after every use. Weekly vinegar spray on the tracks. In the Whitney hard-water reality, the door will show spotting within three weeks if you don’t keep up on it.
If you skip descaling for two years, the calcium hardens into something that needs mechanical removal and can scratch the finish. A monthly vinegar soak costs five minutes. Replacing a Grohe shower valve costs considerably more.
Related work in other rooms follows similar logic. If a bathroom scale problem leads you to consider adjacent updates, our kitchen remodeling in Whitney team deals with the same hard-water issues on fixtures and appliances.
Exhaust Fan Performance Testing
The exhaust fan is the single maintenance item that extends the life of every surface in the room. Tile, grout, caulk, paint, drywall, and cabinetry all last longer when moisture leaves the air fast enough. A bathroom fan that quietly underperforms doesn’t announce itself. It just lets the mirror fog up for an extra 20 minutes and lets mold colonize the grout it shouldn’t reach.
Here’s the test we recommend running quarterly:
- Tissue test: hold a single square of toilet paper against the fan grille while it’s running. If it doesn’t hold under its own weight, the fan isn’t pulling enough air. That’s a fail.
- Timing test: run the shower for 10 minutes, shut the water off, and leave the fan on. Wait 20 minutes. If the mirror hasn’t cleared, the fan isn’t moving the air it should.
- Sound test: a fan that has become noticeably louder is usually a fan with a failing bearing or an unbalanced blade. Listen for grinding or clicking.
- Grille cleaning: pull the grille and wash it in warm soapy water twice a year. A dust-loaded grille blocks more air than a partially failing motor.
- Blade cleaning: with the breaker off, wipe blades clean. In Whitney’s dusty environment, blades accumulate buildup faster than in most of the country.
If the fan is 10+ years old and failing the tissue test, replace it. Modern fans rated at 80-110 CFM draw less power than old 50-CFM units and move twice the air. That upgrade does more for your bathroom’s lifespan than any sealer you’ll ever buy.
Building a 3-Year Maintenance Log
A simple log turns “I don’t remember what was done when” into a document you can hand to a warranty adjuster, a home inspector, or the next buyer. It’s the single most under-used piece of upkeep in homeownership.
What to log
- Date and task: what you checked, cleaned, or resealed.
- Findings: “grout hairline crack at shower curb, re-caulked on this date.”
- Products used: the exact sealer, cleaner, or caulk brand and type. When you go to re-apply, this saves you guessing.
- Photographs: a phone photo of the caulk line at 30 days, 6 months, and the 1-year mark. Photos are worth more than written notes when a warranty question comes up.
- Repairs: who did the work, what was replaced, when. If a technician replaced a cartridge, log it.
- Invoices and warranty cards: keep the written price you were given before work started alongside the log. Our no-hassle upfront pricing means you always have that document. It’s part of the process on every job.
Why a 3-year horizon
Three years captures the realistic failure window for the first round of caulk, the first grout resealing cycle (if needed), the first fan replacement if the original was marginal, and the first cartridge replacement on the faucet. By year three, you have a record of how your specific bathroom in Whitney behaves through the temperature swings and the dry season, and you can predict what’s coming. A log that ends with “no findings, all fixtures working” is exactly what a real estate inspector wants to see.
For broader renovation planning that may involve the log being handed off with the house, our general contractor in Whitney team can help you understand what documentation a future buyer will look for.
Common Mistakes to Avoid
- Skipping the 30-day check entirely. By the time you notice a failing caulk line at month 8, the warranty question gets murky. Do the check while the paper trail is fresh.
- Using vinegar on natural stone. It’s fine on porcelain. It permanently etches marble, travertine, and limestone. We’ve seen homeowners refinish a stone vanity top in Whitney solely because a vinegar spray bottle got used on it.
- Sealing grout that doesn’t need it. Epoxy and urethane grouts don’t require annual sealing. Applying sealer anyway wastes money and can leave haze.
- Ignoring the exhaust fan. The fan is the cheapest item in the room and the most consequential to skip. Every other surface in the bathroom pays for a failing fan.
- Using bleach to clean mold on grout without fixing the moisture source. Bleach kills surface mold. It doesn’t fix a fan that isn’t venting or a shower enclosure that’s trapping water. The mold returns within weeks.
- Not writing anything down. A warranty claim is easier with a log. A resale inspection goes faster with one. Without one, every question starts from zero.
- Treating a remodel as a permanent install. Every material in the room has a maintenance cycle. Even brand-name fixtures from Kohler, Moen, and Grohe need the descaling and cartridge care that keeps them running.
When to Call a Professional
Some maintenance is a homeowner task. Here’s where it stops being one and starts being a call we’d want to take:
- Water staining on the ceiling below the bathroom. That’s a leak in the drain or supply, not a caulk issue. It needs a pro on it before the drywall spread gets worse.
- Grout cracks recurring in the same spot. Often a sign of movement behind the tile, which means a substrate issue, not a grout issue.
- A shower pan that flexes or sounds hollow underfoot. Possible failed pan or bad slope. Don’t wait on this one.
- Mold growing back within a month of cleaning. Almost always a ventilation or moisture-intrusion problem that cleaning won’t fix.
- A failing exhaust fan you’ve never replaced. A swap is a job for someone with the right tools and the right venting knowledge. Not a weekend project.
- Any fixture that’s leaking into the cabinet or behind the wall. Shut the water off and call.
Sawyer Remodeling Whitney offers free estimates in Whitney. Call (833) 570-8789 and we’ll tell you whether it’s a maintenance item, a warranty item, or a repair.
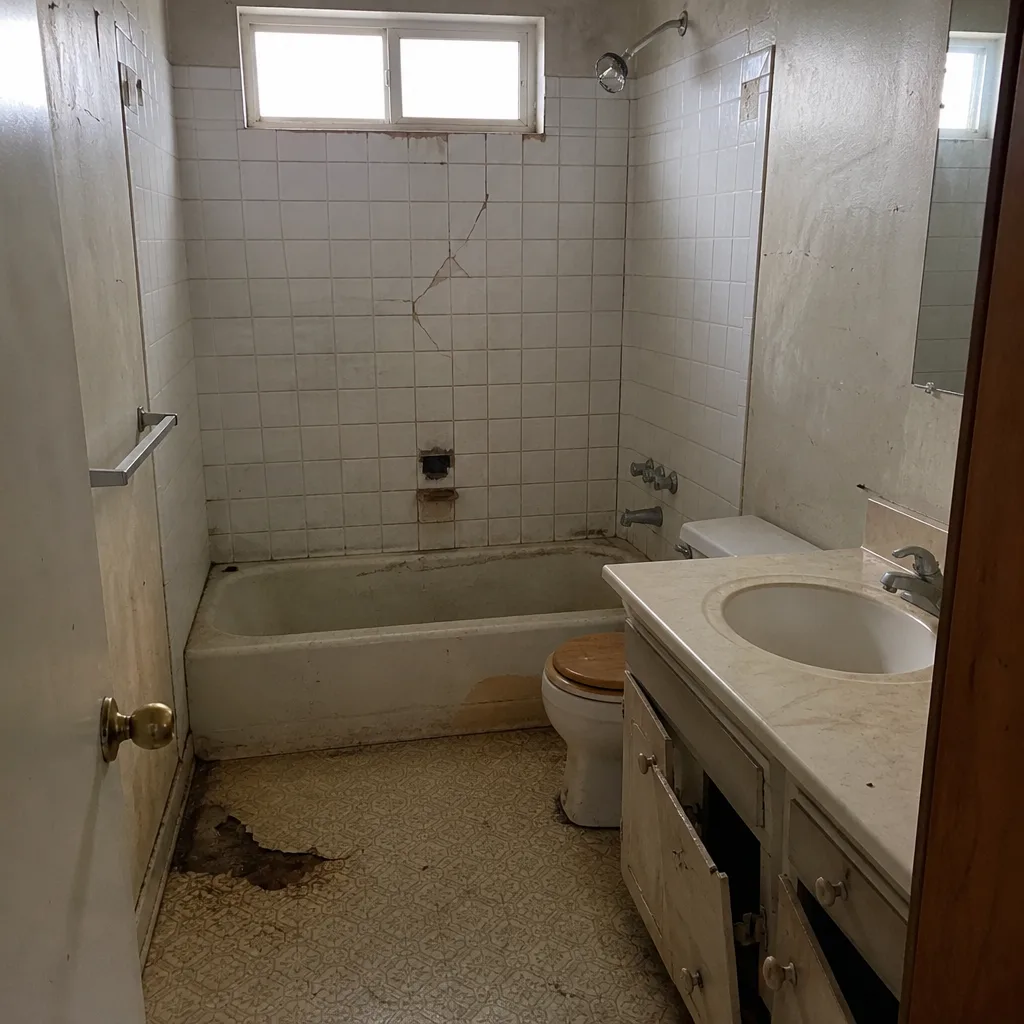
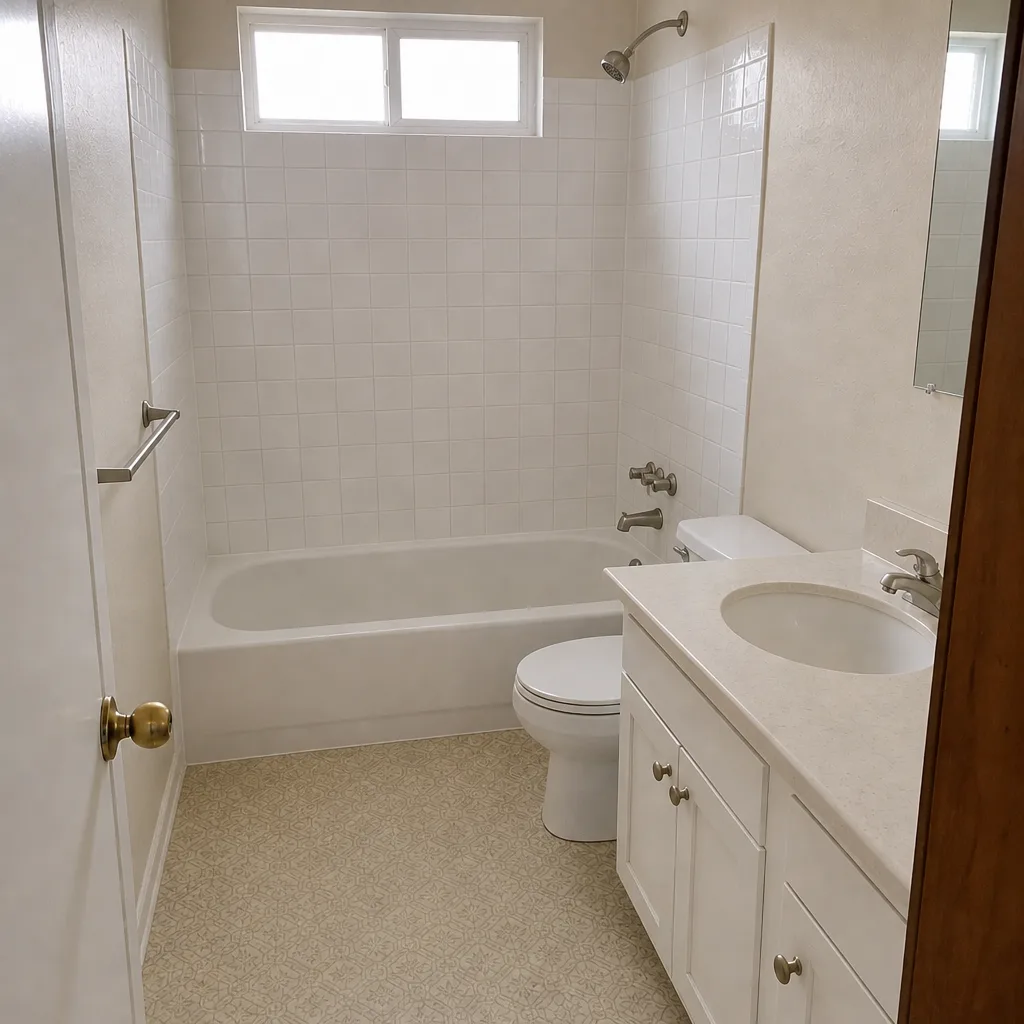
See the difference
 Before
 After
 Before
 After
 Before
 After
Frequently Asked Questions

Thirty days after the project closes. That window is long enough for sealant to cure fully and reveal adhesion problems, but short enough that any warranty claim is clearly connected to the original work. The 30-day check is the most important one on the whole calendar.
Not all of it. Cementitious grout benefits from a penetrating sealer every 12-18 months in a frequently used shower. Epoxy and urethane grouts don’t need annual sealing at all. The right schedule depends on the specific grout installed in your bathroom. If you’re unsure, call (833) 570-8789 and we can tell you what species of grout you have if we did the install.
Grille cleaning every six months and blade cleaning once a year. Test airflow with the tissue test quarterly. Whitney’s dust load accelerates buildup faster than in most of the country, so a fan that would normally run three years between deep cleanings here needs it every 18 months.
Usually one of three causes: the wrong caulk for the substrate (silicone vs. siliconized acrylic matters), inadequate surface prep at install, or a shower base that moves slightly underfoot. Each requires a different fix. A caulk joint should last 3-5 years in a properly built shower. If yours is failing sooner, that’s a signal to investigate, not just re-caulk.
In many cases yes, if the existing wiring and duct are already in place. But the exhaust fan connects to your home’s electrical system and to a vent that may run through the attic or the exterior wall. If you aren’t confident in either, don’t. A failed fan connection or a duct that’s disconnected from the exterior vent is worse than an old fan that works. Call (833) 570-8789 for a free estimate on a replacement.
Dates, tasks, findings, products used, photographs, and any repair invoices. Keep the original written price and warranty documentation with the log. A three-year record of routine checks is the single best document you can hand a warranty adjuster or a buyer’s home inspector.
The Bottom Line
A remodeled bathroom in Whitney has a predictable maintenance calendar: check at 30 days, recheck at six months, service annually, and log everything for three years. The 30-day caulk and sealant check is the one that matters most because it’s the one that decides whether the work behind the walls gets a fair shot at lasting. Skip the schedule and small things become expensive repairs. Follow it and the bathroom you invested in stays the bathroom you paid for. Our team is here for the estimate and the follow-through – see what we do at Sawyer Remodeling Whitney home.
To schedule a free estimate or ask what a maintenance visit would cover, call (833) 570-8789. We’ll put the price in writing before any work starts, confirm who’s coming, and give you the live arrival time – no phone tag, no surprises on the invoice.
Written by the team at Sawyer Remodeling Whitney.