Last updated November 17, 2026








Free written scope consultation - allowances, timeline, and change-order rules on paper before a single trade is scheduled
General Contractor Maintenance Schedule: What to Do and When
Nobody hands you a maintenance schedule when a contractor leaves your jobsite. But the caulk around your new shower, the expansion gaps in your new flooring, and the flashing on your new addition all have a clock running from day one. Miss the window, and warranty coverage can disappear before you even knew it existed. This guide maps the upkeep that flows directly from the trades that touched your home, from year one through year ten, with a seasonal checklist built for how Whitney homeowners actually live.
Quick Answer
After a renovation, your home needs a documented maintenance rhythm: inspect roofing and exterior seals twice a year, test plumbing and electrical systems annually, and revisit the work of every trade at year one, year three, and year five. In Whitney, UV exposure, thermal cycling, and low humidity speed up wear on caulk, paint, roofing, and wood, so schedules built for milder climates run behind here. The full calendar below breaks it down trade by trade and season by season.
Styles & brands we work with
- Kitchen remodeling
- Bathroom remodeling
- Home additions & ADU
- Roofing
- Windows & doors
- Driveway & pavers
- Fence
Table of Contents
- Why a Renovation Starts a Ten-Year Maintenance Clock
- Year One: The Settling-In Inspection
- Year Three: The Materials Check
- Year Five: The Systems Review
- Trade-by-Trade: What Each Crew Leaves Behind
- Nevada Accelerators: Why Whitney Homes Age Differently
- How to Document a Renovation for Maintenance
- Builder’s, Manufacturer’s, and Workmanship Warranties
- The Seasonal Checklist
Why a Renovation Starts a Ten-Year Maintenance Clock
Every trade that walks through your home leaves behind an obligation. When a crew installs new roofing, the flashing and sealant they used has a service life. When a plumber sets a new shower valve, the caulk line around it starts curing the moment they pack up. When a flooring installer leaves expansion gaps at the walls, those gaps are doing a job, and they’ll fail if you fill them. The contractor knows this. The problem is that the knowledge usually leaves with them.
A finished remodel is never truly finished. It’s a set of materials entering their first Nevada summer. Roof sealant that holds up in a mild climate can crack in two seasons under Whitney’s sun. Caulk around a Kohler shower trim can shrink in low humidity if it wasn’t the right formulation for the job. A hardwood floor installed at the wrong moisture content will cup the first time the indoor humidity swings.
Professional crews build a maintenance calendar into every project. Homeowners usually receive that calendar through a warranty document, a spec sheet, or a verbal handoff. We’ve seen plenty of projects in Whitney where the handoff never happened, and the homeowner learned about the clock only when something failed. This guide recreates that calendar so you can work from it whether or not anyone gave you one.
What you’ll find here is the trade-by-trade schedule, the specific Nevada variables that compress timelines, and the documentation habits that keep your warranties alive. All of it is meant to be practical. You don’t need a facilities manager to run a house. You need a checklist and a place to keep your paperwork.
Year One: The Settling-In Inspection
The first twelve months after a renovation do most of the settling, and the work you do in year one determines whether the warranty stays valid. Most manufacturers set their defect window at one year, which means a caulk failure in month eleven is covered and a caulk failure in month thirteen may not be.
Here’s what to do in the first year, in order:
- Month 1: Photograph every finished surface, every caulk line, and every seal. Store the photos somewhere you can find them (more on that below). This is your baseline if a dispute ever happens.
- Month 3: Re-inspect all caulk joints around tubs, showers, sinks, and exterior penetrations. Caulk shrinks as it cures, and a hairline gap in month three is normal. Fill it with the same formulation the installer used.
- Month 6: Check the expansion gaps on new flooring. If you have wood, laminate, or luxury vinyl plank, the gaps at walls and door thresholds should still be open. Fill them with flexible sealant, not rigid grout.
- Month 9: Look at the roof flashing and any new penetrations, like a vent or a skylight. From the ground with binoculars is fine. Whitney’s summer heat can reveal a sealant failure by mid-summer.
- Month 12: Do a full walkthrough with your warranty documents in hand. Any defect you find in year one should be reported in writing before the twelve-month mark.
Keep a written log of what you find. A photo and a date is enough. If you ever need to make a warranty claim, that log is the difference between a quick resolution and a long argument.
Year Three: The Materials Check
By year three, the finishes are past their settling-in phase and into their working life. This is when you find out whether the sealants and coatings used on your project hold up to Whitney’s climate.
Materials that need attention at the three-year mark:
- Caulk and sealants: Every exterior caulk line should be re-examined and re-caulked where needed. UV degradation makes exterior caulk fail faster in Whitney than in coastal climates.
- Paint and stains: Exterior paint on south- and west-facing walls takes the most sun. If it’s chalking or fading, plan for a recoat within the next two years.
- Countertop sealers: If your new kitchen includes natural stone, check whether it needs re-sealing. Quartz products from Caesarstone generally don’t need sealing, but the caulk line at the backsplash does. Every surface has a different requirement.
- Grout: Tile grout in showers and floors starts to show wear by year three. A penetrating sealer applied now buys you years of service.
- Faucets and fixtures: Aerators and cartridge screens on your Kohler or Moen fixtures can collect mineral buildup. Whitney’s hard water is a specific contributor here, and cleaning the aerators now prevents reduced flow problems later.
- HVAC filters and condensate lines: If the renovation touched your HVAC, put filters on a two-month rotation and check the condensate drain pan at the start of every cooling season.
Year three is also when you should think about the roof. GAF and Hardie exterior installations hold up well, but the sealants and flashings around them are the weak points. A professional roof inspection at year three catches small issues before they become attic leaks.
Year Five: The Systems Review
At year five, your home has been through five Whitney summers and five winters. The materials have been tested, the systems have been exercised, and the warranty window on most finishes has closed. What’s left is the deeper inspection.
Systems to review at the five-year mark:
- Plumbing: Have a plumber examine the supply lines, shutoff valves, and water heater connections under the sinks. A small drip that appeared in year four is a bigger problem by year five.
- Electrical: Look at the panel and the outlets. A licensed electrician can check for loose connections at the panel, and you should verify that any new circuits added during the remodel are still properly labeled.
- HVAC: Have the system serviced. New ductwork installed during a renovation should be inspected for leaks, and the unit should be recharged and checked.
- Roofing: A full roof inspection at year five is standard maintenance. GAF installations come with their own warranty terms, and keeping the manufacturer’s inspection record helps if a claim ever comes up.
- Structural: Any new addition, opening, or beam should be checked for signs of settling. Hairline cracks in drywall are usually cosmetic, but movement at the framing is not.
By year five, the project is past its warranty window on most finishes. That’s why the more detailed inspections in later years matter. Your home is still holding up, and the maintenance you do on schedule is what carries it through the next five years.
Trade-by-Trade: What Each Crew Leaves Behind
If you want to know what to maintain, look at what was built. Each trade leaves a set of tasks behind. Here’s the year-by-year picture for the five trades that appear in most Whitney renommées, from roofing to structure.
Roofing
Year 1: Check flashing, seals, and any new penetrations. The install crew’s sealant cures first, then shrinks.
Year 3: Re-examine sealant at the flashings. Whitney’s UV levels break down the flexible sealant faster than the roofing material itself.
Year 5: Full inspection. Look at the granule loss on GAF shingles, and check the underlayment where the installer cut it. A professional inspection at this point is a small cost against a large repair.
Plumbing
Year 1: Check the caulk joints around all fixtures. The sealant at a tub or shower surround is the most common failure point in the first year.
Year 3: Clear aerators, check shutoff valves, and look at the flexible supply lines under your sinks.
Year 5: Full inspection of the supply lines and the water heater connections. Any drip around a valve is a call the plumber.
Electrical
Year 1: Confirm that the labels on your panel match the circuits in your home. This is the most overlooked step after a remodel, and it’s the one that matters most in an emergency.
Year 3: Test your GFCI outlets. Press the test button and reset. Do this every six months, but year three is the time to confirm they’re still working.
Year 5: Have a licensed electrician inspect the panel and the new circuits.
HVAC
Year 1: Change the filter and check the condensate line. If the renovation added a room, confirm the new supply and return are balanced.
Year 3: Service appointment. Check the refrigerant level and clean the coil.
Year 5: Duct inspection, especially if new ducts were installed or existing ducts were rerouted.
Structural
Year 1: Inspect all new framing and drywall for settling cracks. Small ones are normal; report anything that opens a quarter-inch or wider.
Year 3: Check door and window frames for alignment. Sticking doors signal movement.
Year 5: Have any new addition, opening, or beam checked by a professional. This is the structural baseline for the next five years.
If you want a broader map of what a full remodel touches, our Sawyer Remodeling Whitney home page covers the scope, and our General Contractor in Whitney page covers how the trades hand off from one to the next.
Nevada Accelerators: Why Whitney Homes Age Differently
National maintenance calendars are written for the average climate. Whitney isn’t average. The gap between what a generic schedule assumes and what actually happens in Nevada is why so many homeowners are surprised when their new material fails early.
Here’s what specifically drives the difference:
- UV exposure: Whitney’s sun is intense and consistent. Any sealant, paint, or plastic on a south- or west-facing surface degrades faster than the manufacturer’s average timeline assumes. Caulk that lasts five years in a mild climate can be done in Whitney in two.
- Thermal cycling: The swing between summer heat and winter cold stresses every joint, bond, and sealant. Roofing flashings, window seals, and expansion joints all see more movement here in five years than they would elsewhere in ten.
- Low humidity: Dry air pulls moisture out of wood, drywall compounds, and caulk. New construction dries out faster, and wood flooring and framing can shrink. This is why the expansion gaps in new flooring matter, and why you should keep an eye on them through the first two years.
- Hard water: Whitney’s water supply carries enough mineral content that fixtures and appliances build up scale faster than average. Water softeners and regular aerator cleaning on your Moen or Kohler fixtures are real maintenance here, not optional. Our Bathroom Remodeling in Whitney page covers the fixture choices that hold up well in this water.
- Dust and pollen: The same dry conditions that protect some materials in Whitney can also mean dust and debris collect in HVAC filters and exterior vents faster. Filter changes run on a tighter schedule here than the national standard.
In practice, a Whitney homeowner should inspect any sealant or coating on an exposed exterior surface every six months, and re-caulk exterior joints every two years instead of the national average of three to five. Don’t wait for a leak to tell you it’s time.
How to Document a Renovation for Maintenance
The single most overlooked step after any renovation is documentation. We’ve seen homeowners lose valid warranty claims because they couldn’t prove what was installed, when, or by whom. The fix is a simple system that takes an afternoon to set up.
Here’s what to keep, and how to organize it:
- Photographs. Take wide shots of each room at completion, then close-ups of every caulk line, seal, and fixture. Include a date stamp. Take more than you think you need.
- Spec sheets. Every product in your home has a manufacturer’s spec sheet. Your Kohler fixtures, Moen faucets, Caesarstone or Blanco surfaces, and GAF roofing all come with installation specs and warranty terms. Save the PDF, not the paper.
- The written price and project scope. The signed scope of work is your record of what was and wasn’t part of the job. Keep it with the warranty documents.
- The warranty documents. Separate the builder’s warranty, the manufacturer’s warranties, and the workmanship warranty into separate files. Don’t merge them; they cover different things and have different terms.
- A maintenance log. A simple spreadsheet with the date, what was inspected, and what was done. This is your record if a claim ever comes up.
- A cloud backup. A local folder is a start, but a cloud account means a phone lost at a job site doesn’t take your documentation with it. Store the whole folder there.
Label the folders clearly. If a manufacturer’s warranty has a serial number requirement, keep the serial number with the spec sheet. When you need it in year four, you’ll be glad it’s all in one place.
This system is also useful for the next contractor you work with. A plumber called in on short notice can see the install specs and manufacturer terms without guessing. Our Kitchen Remodeling in Whitney page shows the materials that most commonly need spec-sheet tracking, especially countertops and cabinetry.
Builder’s, Manufacturer’s, and Workmanship Warranties
Three different warranties cover your renovation, and they don’t all cover the same things. Knowing the difference is the key to using them.
- Builder’s warranty: Covers the overall project, usually for one year. This is the contractor’s own agreement to fix construction defects, from poor framing to an improperly installed door. It’s typically a written umbrella over everything the crew installed, which is why you should report a defect inside that first year.
- Manufacturer’s warranty: Covers the product itself, and it varies by brand. A Kohler faucet and a GAF roof are both covered by the manufacturer, but their terms, limits, and claim processes are different. Manufacturer warranties often run five, ten, or twenty years, but they usually require the product to have been installed according to the manufacturer’s spec. That’s why documentation matters: a failed installation can void the manufacturer’s coverage.
- Workmanship warranty: Covers the quality of the labor. A workmanship warranty responds to a seam that opened, a shower that failed after six months, or a tile job that lost adhesion. It doesn’t cover a fixture that broke because of old age or abuse.
Maintenance is the common thread through all three. A manufacturer’s warranty on a Kohler fixture is void if the fixture was installed without the required shutoff, or if a leak that wasn’t repaired caused the failure. A workmanship warranty on a shower install won’t cover a seam that failed because the owner filled it with the wrong caulk. And the builder’s warranty depends on the owner reporting defects within the stated window.
The calmest way to manage all of this is to read your documents early. Every project we run puts a written price in your hands before work starts, along with the guarantee terms that apply to the work. If you received a written plan from a different contractor, read the guarantee section closely and keep the documents together.
The Seasonal Checklist
Maintenance calendars are usually organized by trade, which is not how homeowners actually live. Here’s the same work organized by season, so you can run the checklist to the rhythm of the year.
Spring (March to May): Inspect the exterior caulk on south- and west-facing walls. Clean the gutters and check the downspouts. Service the HVAC before the first real heat. Check the expansion gaps on new flooring. Test your GCFI outlets. Photograph any new exterior wear you find.
Summer (June to August): Check the roof flashing and any new penetrations from the ground. Look at exterior paint on the sun-facing walls. Clean the aerators on your fixtures. Run the AC filter change on your two-month rotation. Check the condensate drain line. Look for any settling cracks in the new drywall.
Fall (September to November): Have the HVAC serviced for the heating season. Check the seals on doors and windows. Inspect the exterior caulk again and re-caulk where needed. Clean the gutters after the summer season. Photograph the exterior for your maintenance log.
Winter (December to February): Test the GFCI outlets again. Check the supply lines under sinks and the water heater connections. Inspect the interior caulk in tubs and showers. Review your warranty documents and log any items reported in the year. Plan your annual service calls.
Keep the seasonal checklist somewhere visible, like on the refrigerator or in a phone note. If a maintenance task happens on a specific date, log it. Your seasonal rhythm is the single best indicator of whether your renovation is holding up.
Common Mistakes to Avoid
- Filling expansion gaps. That gap at the base of your new flooring is there for a reason. Filling it with grout or rigid sealant means the floor buckles the first time the humidity swings. Use flexible sealant or leave it as the installer set it.
- Using the wrong caulk. Bathroom caulk, exterior caulk, and kitchen caulk are different formulations. Using the wrong one in Whitney’s heat and dry air means a seal that fails in months. Match the caulk to the joint and the climate.
- Assuming the warranty covers maintenance. No warranty covers failure from neglected maintenance. If a shower seal isn’t maintained and the wall behind it fails, the warranty may not respond. The paperwork you keep is your defense.
- Skipping the first-year inspection. The one-year mark is the boundary for most manufacturer and builder coverage. If you don’t report a defect inside that window, you may lose the right to claim it.
- Not recording what was installed. In Whitney, a family moving into a renovated home often finds an unlabeled electrical panel or a missing spec sheet. Photograph and store those documents when the work is done, before anything gets lost.
- Filling exterior cracks with the wrong material. A rigid patch on a moving exterior joint will crack again in a season. Flexible exterior sealant is the right choice for Whitney’s thermal swing.
- Waiting for a leak to signal a repair. By the time water shows up on a ceiling, the damage behind it is old. Inspect the seals and flashings on schedule, not after the damage is visible.
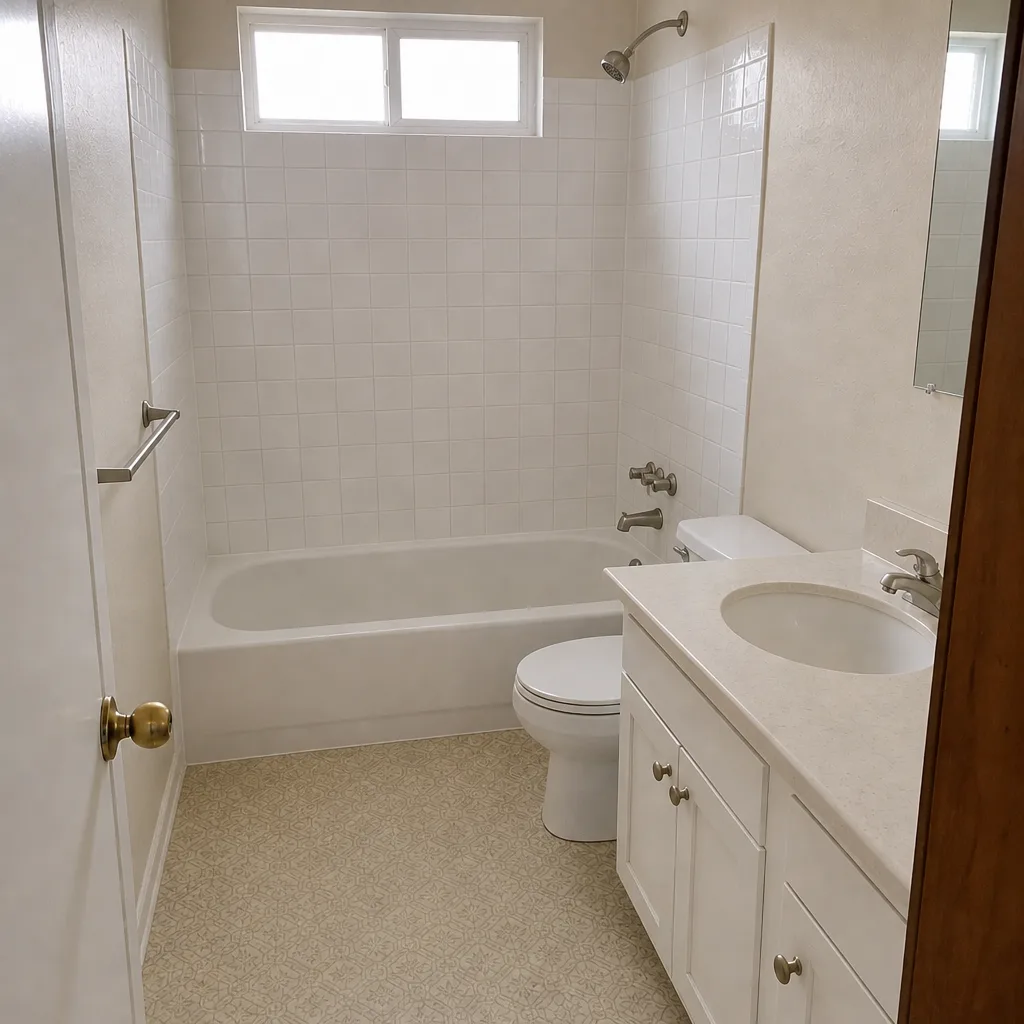
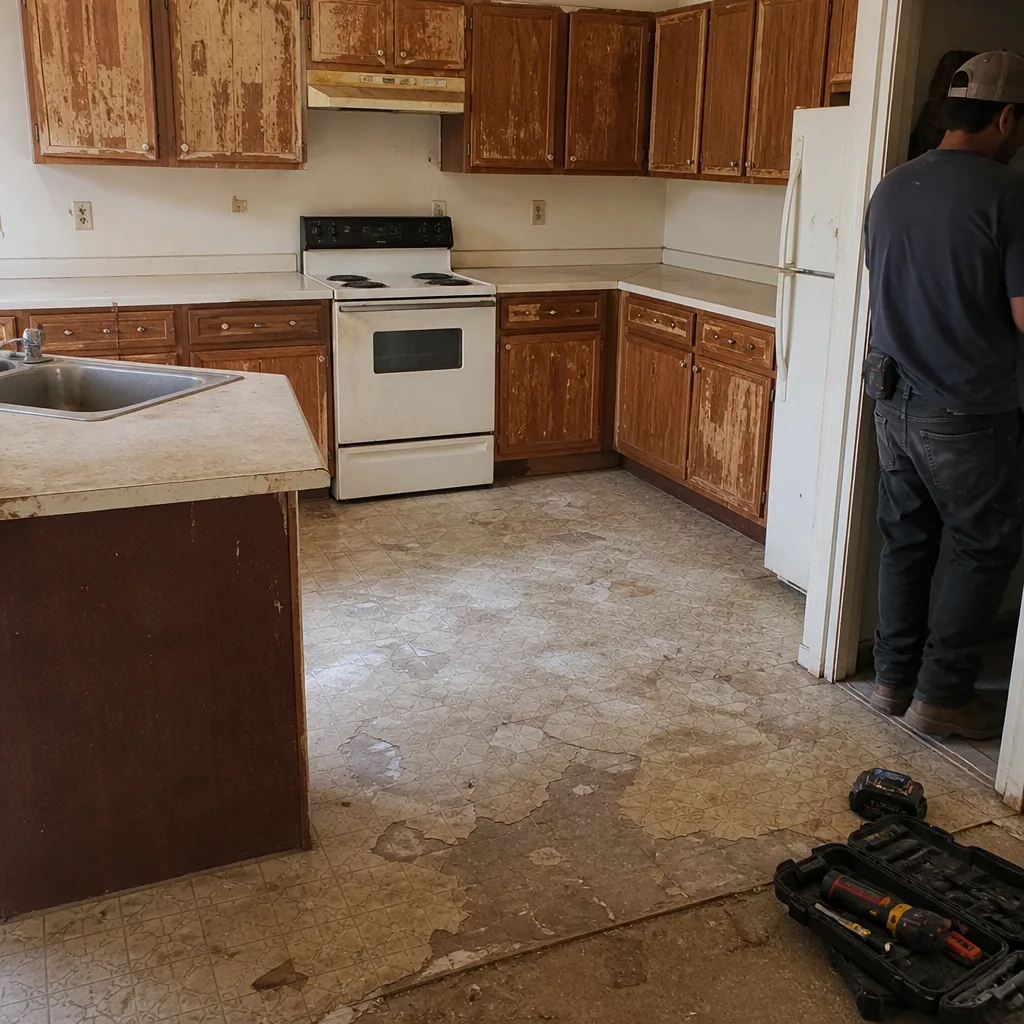
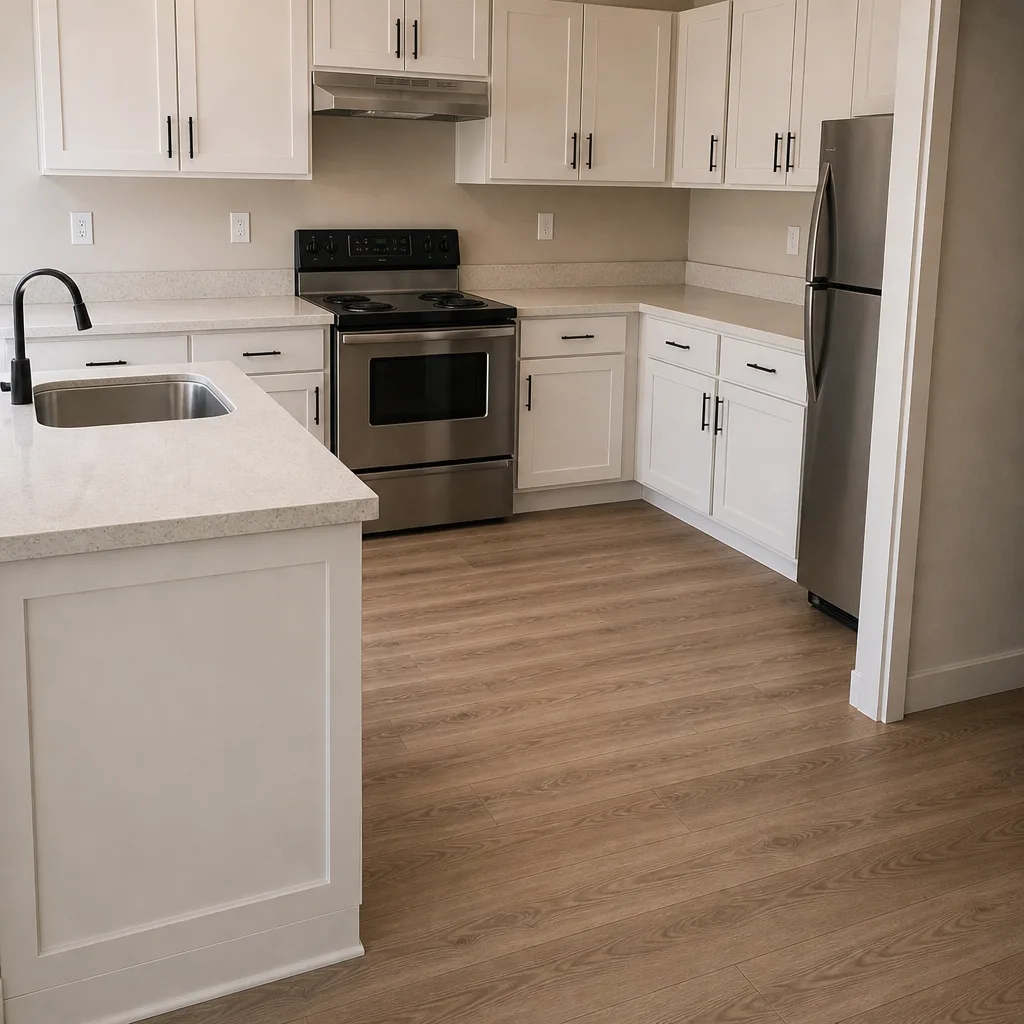
See the difference
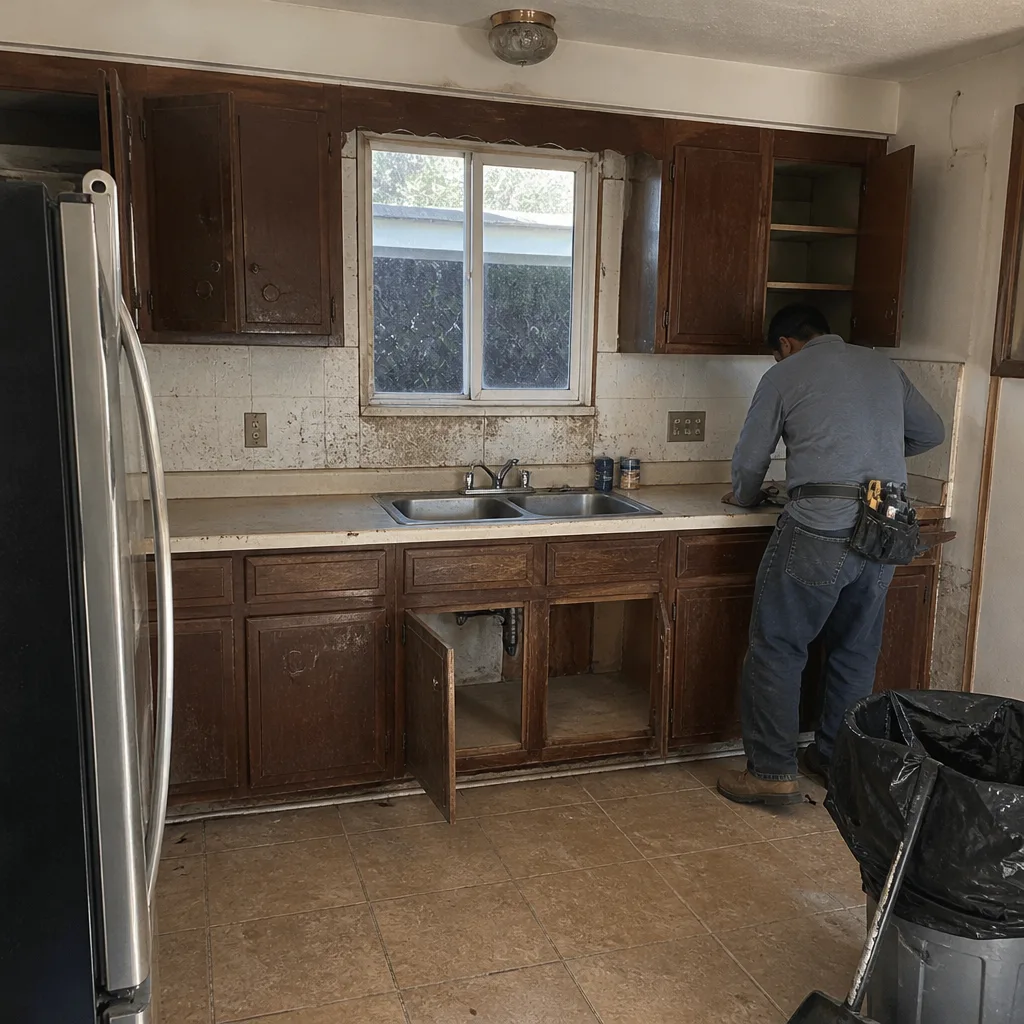 Before
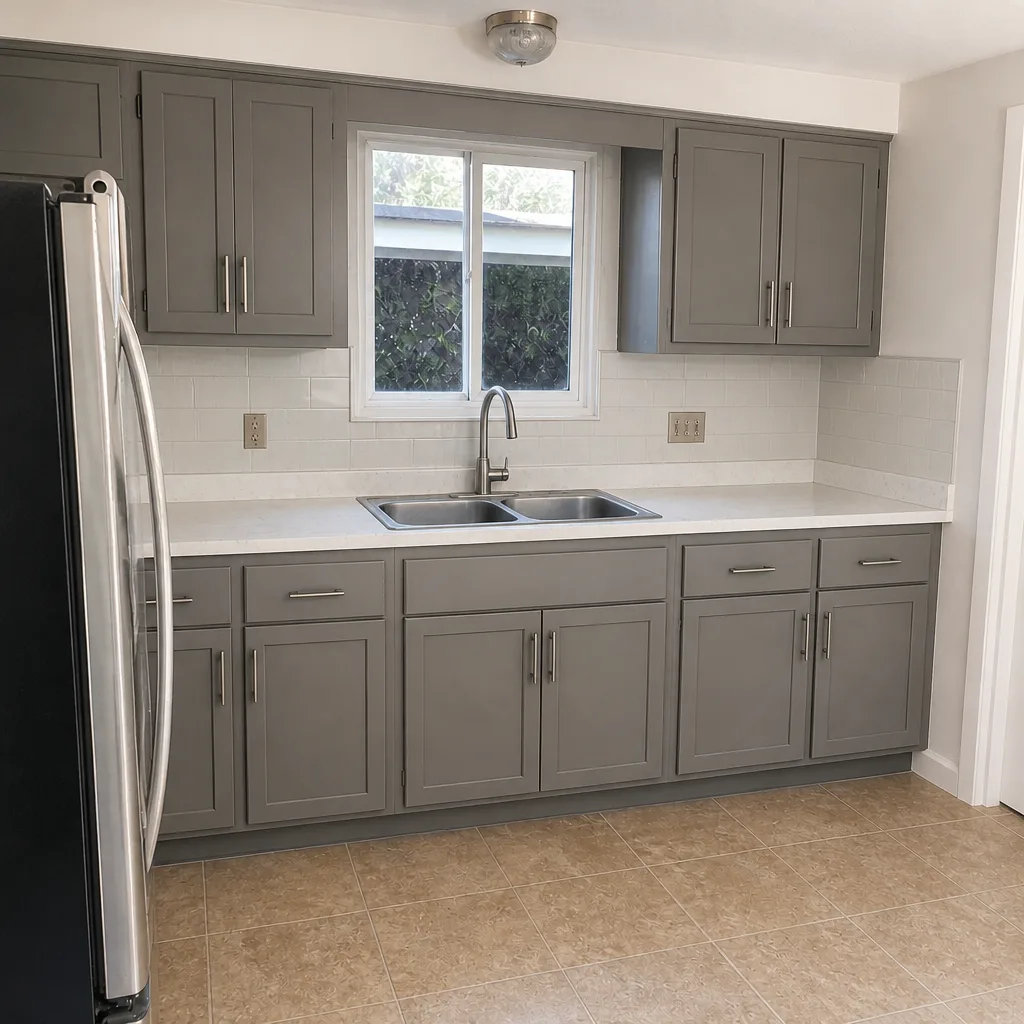 After
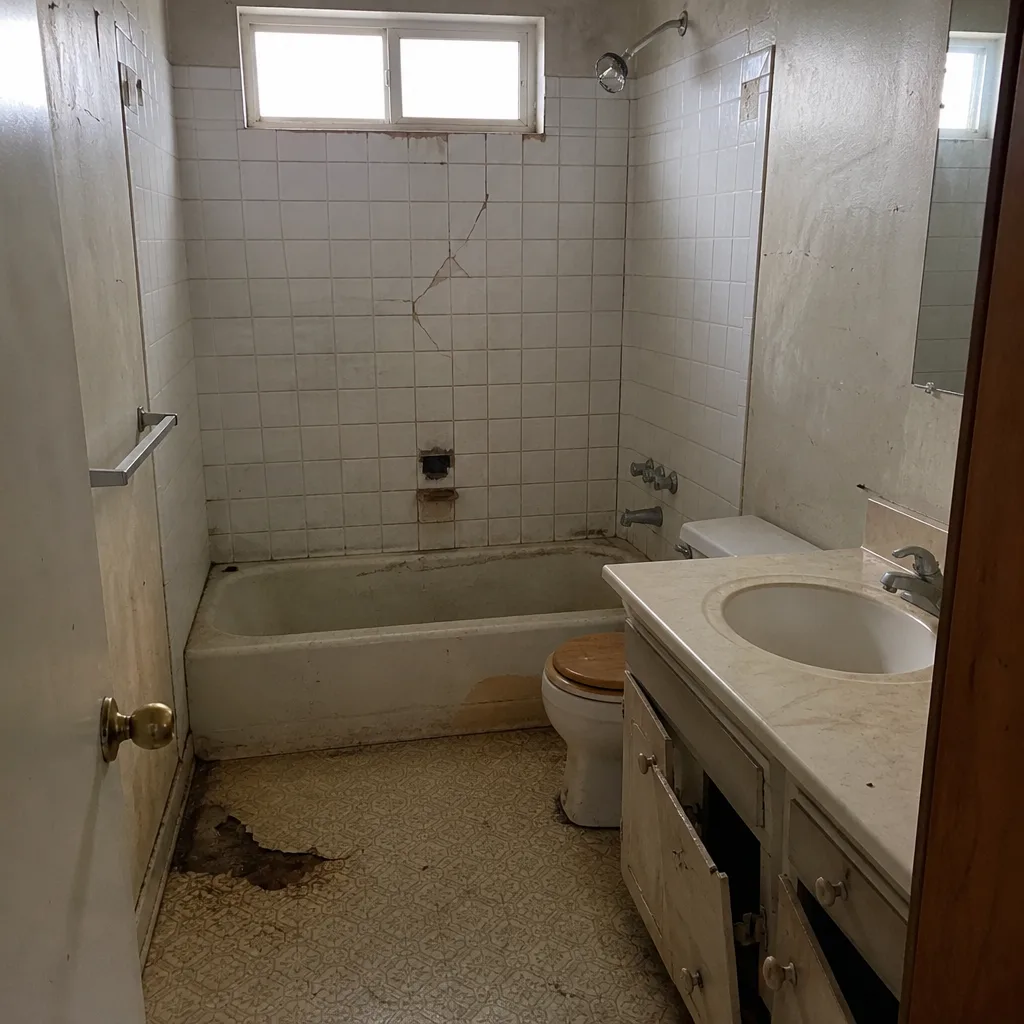 Before
 After
 Before
 After
When to Call a Professional
Some tasks are homeowner maintenance. Some are not. Call a professional when you see moisture on a ceiling, a wall, or around a new addition; when a shower or tub seal fails and the wall behind it is soft; when a new floor us buckles or the expansion gaps close on their own; when your electrical panel is hard to read or a circuit misbehaves; when the HVAC doesn’t keep up after a service; or when a new opening or beam shows movement. The dangerous jobs, like the electrical panel, water heater connections, gas lines, and any work on fall protection at the roofline, belong to a licensed trade every time, both for safety and for warranty coverage. Structural questions are worth a professional visit too, since a settling crack and a cosmetic crack look similar from the floor. Sawyer Remodeling Whitney offers free estimates in Whitney for repairs and inspections; call (833) 570-8789 and we’ll take a look and give you a written price before any work starts.
Frequently Asked Questions

Do a full inspection at six months, the one-year mark, year three, and year five, with seasonal checks in between. Those follow-up points line up with the typical builder’s, manufacturer’s, and workmanship warranty windows, and they’re the points where Whitney homes show wear first.
Yes. Whitney’s UV exposure, thermal cycling, and low humidity wear out caulk, paint, and wood faster than the national averages assume. Exterior caulk joints should be checked every six months and re-caulked every two years, and flooring expansion gaps should be checked yearly for the first three years.
It can. A manufacturer’s warranty frequently requires the product to be installed and maintained per their spec, and a workmanship warranty won’t cover a failure caused by neglected maintenance. The safe rule is to log every inspection and keep the spec sheets you were given.
A builder’s warranty covers the contractor’s work overall, typically for one year, and includes construction defects from any trade on the job. Manufacturer warranties cover the products themselves, and the workmanship warranty covers the labor-quality items like seals, seams, and adhesion.
Most of it, yes: caulking, cleaning aerators, changing filters, and visual inspections are homeowner tasks. Leave the electrical panel, water heater connections, gas lines, and any roofline work to a licensed trade. Those jobs carry real risk and may affect your warranty if done without the right trade.
Spec sheets, warranty documents, the signed scope, photos of every sealed joint at completion, and a dated maintenance log. Store the files in a cloud folder so they’re not lost. When a warranty issue comes up years later, that folder is what makes the claim work.
The Bottom Line
A renovation is a set of materials entering the first Nevada summer. The season-by-season checklist here, and the trade-by-trade schedule for years one, three, and five, are what keeps those materials doing their job. The documentation matters too. Your photos, spec sheets, and log are the only proof your warranty ever had. In Whitney, where the sun and the dry air push everything on a faster clock, check the seals, note the date, and keep the paperwork. Our technicians have up to 21 years of experience, and we’ve seen what a small missed caulk line costs in year three. For a free estimate or a maintenance inspection, call (833) 570-8789. We’ll give you a written price before any work starts, and the number on the invoice will be the number you approved.
Written by the team at Sawyer Remodeling Whitney.