Last updated November 17, 2026





Free written scope consultation - allowances, timeline, and change-order rules on paper before a single trade is scheduled
Kitchen Remodeling Troubleshooting: Common Problems and How to Fix Them
The most expensive kitchen remodel mistake isn’t a botched tile job. It’s approving a cabinet layout that feels fine on paper and terrible once the boxes are in. By the time most homeowners say something, cabinets are hung, the countertop template is ordered, and changing course costs real money. That’s the pattern we see again and again on projects in Whitney and across the valley. This guide teaches you to catch problems at the phase where fixing them is still cheap: the 20-minute pre-install walkthrough, the rough-in inspection before walls close, the punchlist, and the first 30 days of living in the space.
Quick Answer
Most kitchen remodel problems are fixable at low cost if you catch them in the right phase. Layout flaws should be surfaced at the pre-installation walkthrough before cabinets go up; installation defects belong on a written punchlist while the contractor is still on site; and functional failures discovered after move-in split into three buckets: warranty items the contractor fixes, normal settling you live with, and user error you correct yourself. Knowing which phase you’re in tells you whether you have a contractor issue or a design issue.
Styles & brands we work with
- Kitchen remodeling
- Bathroom remodeling
- Home additions & ADU
- Roofing
- Windows & doors
- Driveway & pavers
- Fence
Table of Contents
- Phase One: Catching Design Flaws Before Cabinets Go Up
- How to Read a Rough-In Inspection Before Walls Close
- Appliance Fit Problems: Who’s Responsible When the Spec Doesn’t Match
- The Punchlist Method That Gets Defects Fixed Without a Fight
- Phase Three: What You Discover After 30 Days of Living in the Kitchen
- Troubleshooting Closed Walls, Cabinets, and Countertops
- What Whitney Homeowners Specifically Need to Watch
- Common Mistakes to Avoid
Phase One: Catching Design Flaws Before Cabinets Go Up
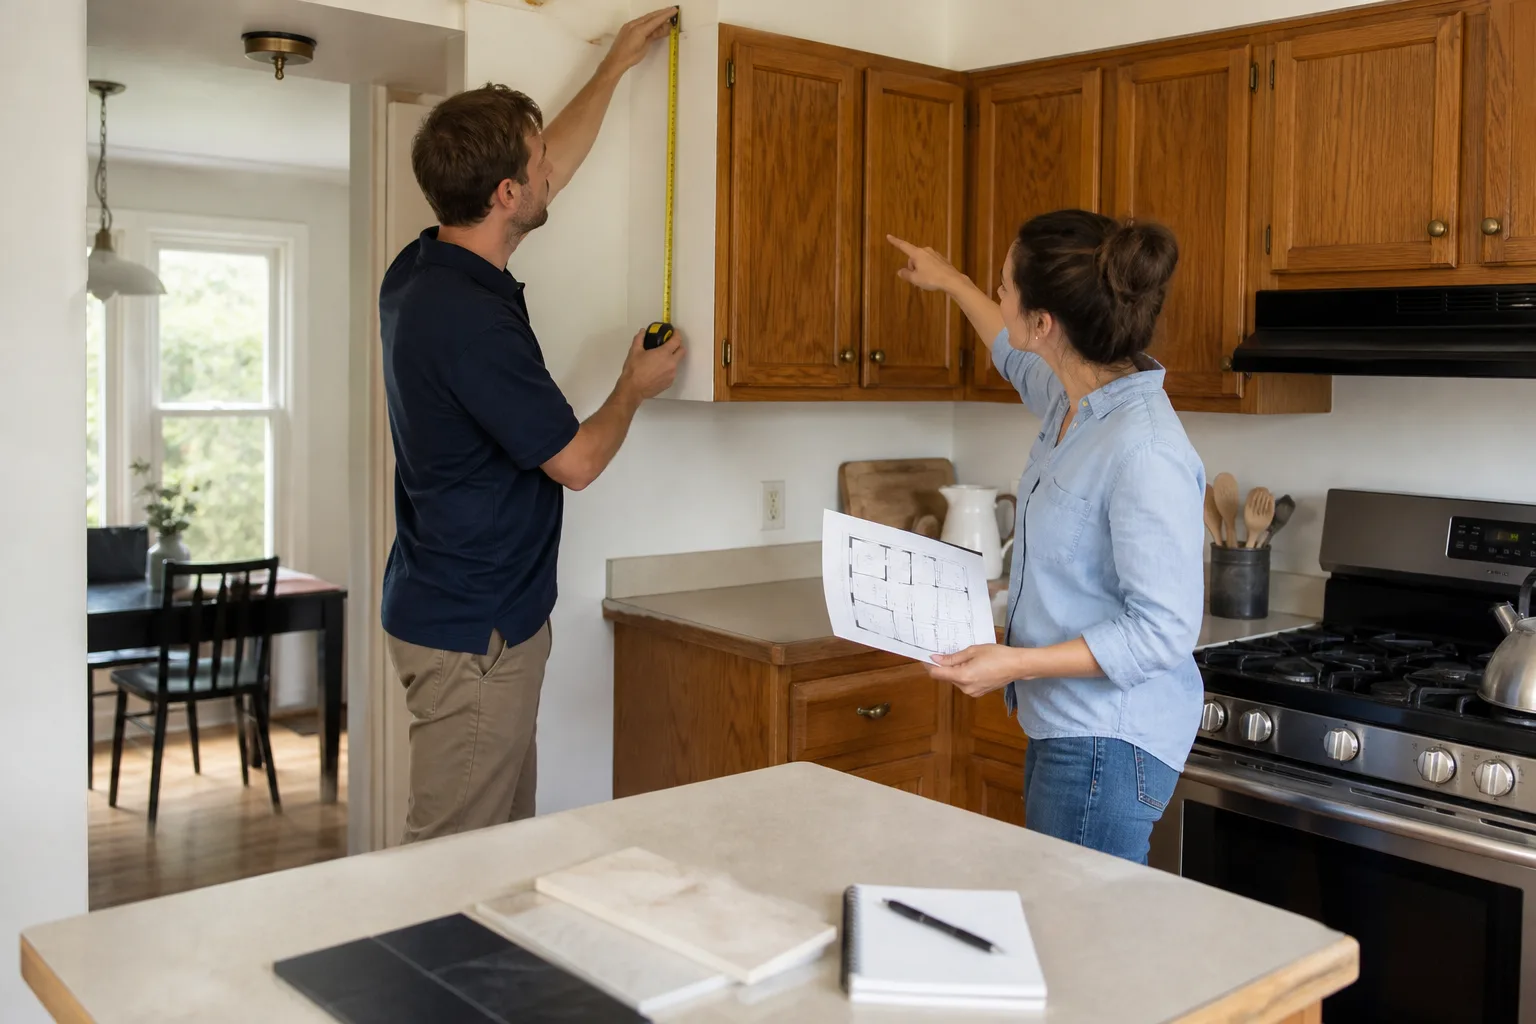
Design flaws are cheapest to fix the day demolition ends and costliest the day cabinets hang. That narrow window is why the pre-installation walkthrough matters more than any other 20 minutes of your project. This is the moment to walk the stripped room with your contractor and check the plan against real walls, real floor slope, and real sightlines. Bring tape and mark the cabinet footprint on the actual floor. Stand where you’ll stand at the sink, turn around, and ask whether the dishwasher door will open with someone at the range. On paper, everything clears. In the room, a 24-inch aisle often becomes a 21-inch aisle because of a furred-out wall nobody measured.
Here’s the pre-install walkthrough checklist we run with every client:
- Mark the cabinet footprint on the floor. Check that every appliance door and drawer swings without hitting the next run or a wall return.
- Walk the work triangle with two people in the room. If you can’t pass between the island and the range, the island is too deep or too close.
- Confirm the actual floor slope and wall plumb. Old homes in Whitney often have out-of-square corners. Cabinets scribed to a bowed wall either need a filler strip or a different layout.
- Check the window and range-hood relationship. A hood centered over a window in the plan may not center over the actual cooktop once the range is placed.
- Set the refrigerator opening in real numbers. Add door-swing clearance and required air gap, not just the box dimensions.
- Confirm outlet and switch locations against the final elevation. An outlet the plan places at 42 inches may land inside a tall cabinet once the actual run is set.
In our experience, running this walkthrough catches roughly 80% of layout problems that would otherwise emerge after cabinets are hung. If you’re working through a full kitchen remodeling in Whitney project, insist on the walkthrough in writing. If your contractor balks, that’s a signal, not a scheduling issue.
How to Read a Rough-In Inspection Before Walls Close
The rough-in phase is when plumbing lines and electrical circuits are in the walls but not yet covered. This is the point of no easy return. After drywall goes up, fixing a misplaced outlet or an undersized drain line means cutting open the wall again. You do not need to be a plumber or electrician to know what to look at. You need to know what to photograph.
Before the walls close, walk the room and shoot these six photos at full resolution:
- Every wall, straight-on, before insulation and drywall. These become your reference for future anchor points when you want to hang a pot rack or a cabinetry.
- The full plumbing rough-in at the sink wall. Note whether the supply stub-outs and drain line match what the plan shows and whether the drain is properly pitched.
- The electrical panel area and every new circuit’s home-run route. Confirm the breaker labels match the plan before drywall covers the wire path.
- The range hood ducting. Check the duct diameter and the shortest possible run to the exterior. A long, undersized duct with too many elbows kills performance and makes the hood loud.
- The gas line location and shutoff. Gas is a genuine safety item. Confirm the shutoff is accessible and the line is properly installed. Never modify or test a gas connection yourself; that’s a licensed-trade job.
- The dishwasher and refrigerator openings with a tape measure in frame. These photos are your proof of what the opening actually was on install day.
Compare the photos to the permit drawings. If the inspection tag is visible and signed, you’re in good shape. Your contractor should pull permits and pass inspections on any structural, electrical, plumbing, or gas work. Anyone who suggests skipping a rough-in inspection on a remodel in Whitney is cutting corners you’ll pay for later.
Appliance Fit Problems: Who’s Responsible When the Spec Doesn’t Match
The refrigerator doesn’t fit the opening. Now what? This is the single most common surprise in kitchen remodels, and the honest answer is that responsibility depends on who supplied the spec. If you bought the appliance on your own and gave the contractor the model number, they built the opening to that spec. If the delivered unit isn’t the model you specified, that’s a retailer issue. If the contractor built to a different spec than the one you gave them, that’s a contractor issue. If the opening was built from the plan and the appliance was chosen afterward, that’s a design decision to own jointly, and it’s why we ask for appliance model numbers before demolition starts.
For planning purposes, these are the current real-world opening dimensions contractors typically work with:
- Standard refrigerator: 36-inch width, 70-72 inches of height, 30 inches of depth. Counter-depth units need cabinet panels and a deeper run.
- Slide-in range: 30-inch width, 25-27 inches of depth, with a slide-in typically needing 30 inches of clear opening.
- Dishwasher: 24-inch standard opening, 34-35 inches of height, 24 inches of depth. Tall-tub models need 34.5 inches minimum.
- Over-the-range microwave: 30-inch standard, but confirm the depth doesn’t crowd the cooktop below.
If you’re choosing appliances from a brand roster as part of the remodel, lock the model numbers in writing before any cabinet goes up. This is the same reason we write a fixed, line-item price before work starts. The number you approved is the number you pay.
The Punchlist Method That Gets Defects Fixed Without a Fight
Finish defects are the reality of any remodel. The trick is documenting them so the fix is a routine follow-up, not a negotiation. Here’s the method we walk our clients through: take a photo of the defect, follow it with one sentence of what’s wrong and one sentence of what “fixed” looks like, and log it in a shared list with a date and the room. That’s it. No long explanations, no editorializing, no text-message threads. A numbered, photo-referenced punchlist is professional and disarming. It’s also exactly what a contractor can hand a tradesperson and check off.
A workable punchlist looks like this:
- One item per line, numbered. “Item 14, kitchen: cabinet door under sink has a 2mm gap at the top; door needs adjustment.”
- Photo attached. Phone numbers, text dates, and angles if the defect is subtle.
- Room and location noted. “Island, facing side, near the end panel.”
- The standard stated. “Grout line should be uniform with the rest of the floor.”
- Walkthrough date set. Ten minutes with your contractor to confirm each item, agree to a completion timeline, and close items one by one.
Under The Relay Visibility Guarantee, the punchlist lives alongside your written price and photo updates in the same project record, so nothing gets lost between visits. And because the 365-Day Done Right Promise runs a full year past close, a defect that shows up later still gets made right, in writing. There’s no argument needed. That’s the point.
Phase Three: What You Discover After 30 Days of Living in the Kitchen
Phase three problems split cleanly into three buckets, and knowing which bucket you’re in tells you what to do next. Get this wrong and you’ll either fight your contractor over something they didn’t cause or live with a defect you should have called in.
- Warranty items (call the contractor): a cabinet door that is now misaligned because a hinge loosened, a seam separating on the countertop, a drawer slide that catches, a faucet that drips at the base, grout cracking along the backsplash. These are install defects showing up under normal use. They’re covered by the 365-Day Done Right Promise.
- Normal settling (document, don’t panic): hairline cracks in new drywall corners or caulk joints at the backsplash as the house reaches its own equilibrium, slight cabinet door misalignment over the first few weeks while hinges seat. These are expected, especially in Whitney where the dry climate and big swings between heating and cooling do a number on new caulk and paint. They’re addressed at the standard punchlist follow-up, not an emergency.
- User error (fix it yourself): a clogged dishwasher filter, a refrigerator that isn’t level because someone nudged it during a move, a drawer that’s overstuffed and off track, a self-clean oven cycle run at the wrong time and baking on residue. These aren’t warranty issues and calling your contractor for them costs you time and costs them a truck roll.
Your move-in checklist: run every faucet, open and close every cabinet and drawer, test every outlet with a phone charger, watch for water under the sink, and give it a week before judging the lighting. Then send a single consolidated follow-up list. Do this at 30 days, and again at 6 months. A real contractor wants that list because it’s how they catch what they missed.
Troubleshooting Closed Walls, Cabinets, and Countertops
By the time walls are closed, you’re troubleshooting fit and function, not layout. Here’s what we tell our Whitney clients to watch for and how we approach each one.
Cabinet doors that don’t line up. Hinges are adjustable in 3 planes on European-style hardware and 2 on exposed hinges. Nine times out of ten a misaligned door is a hinge adjustment, not a defective door. If the gap persists after adjustment, the cabinet may be out of plumb from the install, which is a contractor fix.
Countertop seams that show. A quartz or natural stone seam should be a tight, matched line no wider than a business card on-edge. If it’s more visible than that, it needs a re-seam. Cambria and Caesarstone fabricators both stand behind their seams when installed to spec, and that’s why we work with manufacturer-backed materials: there’s a warranty on both the slab and the install.
Backsplash tile lippage. A slight unevenness over old framing is normal; a 3mm lippage across a modern flat wall is a tiling defect. Photo it and put it on the punchlist.
Doors and drawers that rub. Usually a loose hinge screw, sometimes a warped face frame in a home that hasn’t been closed up long. A wood screw anchored in the existing hole with a toothpick trick works once; a recurring problem is a warranty item.
Genuinely dangerous items – a suspected gas leak, a burning smell from an outlet, a circuit that trips every time the microwave runs – are not troubleshooting items. Cut power at the panel, shut the gas at the valve if you smell gas, and call a licensed professional immediately.
What Whitney Homeowners Specifically Need to Watch
Whitney sits in the Las Vegas Valley, and that shapes kitchen remodel failures in ways a generic guide won’t tell you. The dry desert air plus a hot summer and cool winter means wood cabinetry and framing expand and contract more aggressively than in most of the country. Caulk joints at backsplashes open in the first heating season. Newly installed solid-wood doors can shift by a millimeter or two in the first three months. None of that is a defect; it’s why we schedule a 6-month check-in on Whitney kitchen renovations.
Whitney homes also deal with the local plumbing reality. Hard water in the valley is rough on new faucets and can scale up new fixtures within a year, so a water softener or at minimum a whole-house filter is worth considering at the same time as the remodel. And the summer heat is why the range hood matters more than you’d think: pulling heat and cooking byproducts out efficiently keeps the kitchen usable when it’s over 110 outside and the AC is already working hard.
If you’re mid-remodel in Whitney and something feels off, whether it’s a cabinet run or a rough-in detail, this is exactly the kind of question a quick site walk answers. The cost of the walk is zero; the cost of a design flaw after cabinets go up is not.
Common Mistakes to Avoid
- Approving the layout without marking it on the actual floor. Paper plans hide wall slope, floor level, and doorway clearances that a taped footprint makes obvious. Skip this and the cabinets get hung around a mistake you can’t undo cheaply.
- Choosing appliances after the cabinets are built. The opening and the appliance need to be locked together. Pick the model numbers first, then the boxes.
- Skipping photos at rough-in. When walls close, your photos are the only record of where the plumbing and electrical actually went. That matters for both the inspection and every future remodel decision.
- Sending punchlist items in a text-message thread. A thread loses items, becomes adversarial, and can’t be tracked. A numbered, photo-referenced list gets fixed.
- Ignoring the punchlist until after the final payment. This is a leverage mistake. Do the walkthrough, list the items, and agree to a completion date as part of the close. The 365-Day Done Right Promise backs you for a year, but a proactive close is faster.
- Calling a clogged dishwasher filter a warranty issue. Waste of a truck roll. Read your appliance manual first. If it’s in the manual, it’s user-maintained.
- Waiting past 30 days to report cabinet hinge and drawer issues. Not a problem under a written guarantee, but shifting timber and settled hardware are easier to fix early. A 30-day walkthrough plus a 6-month follow-up catches everything.
See the difference
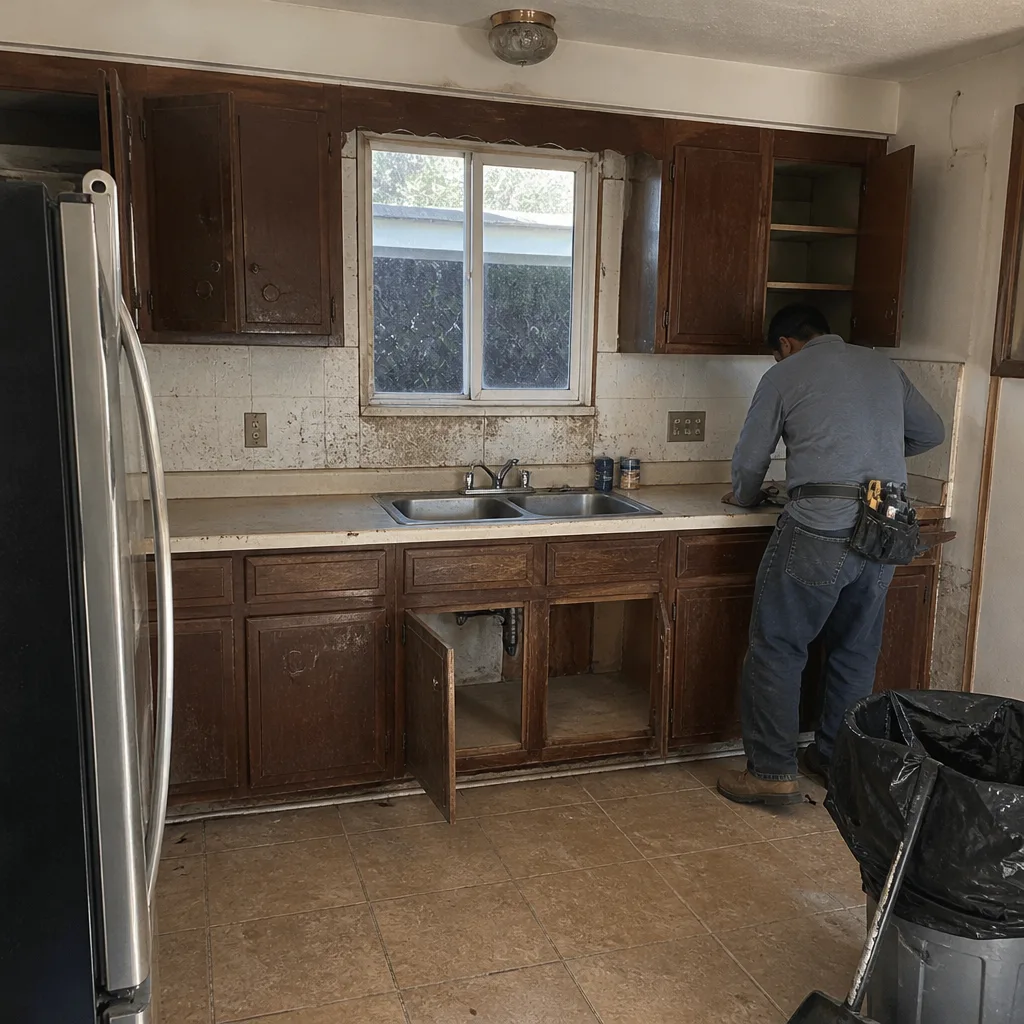 Before
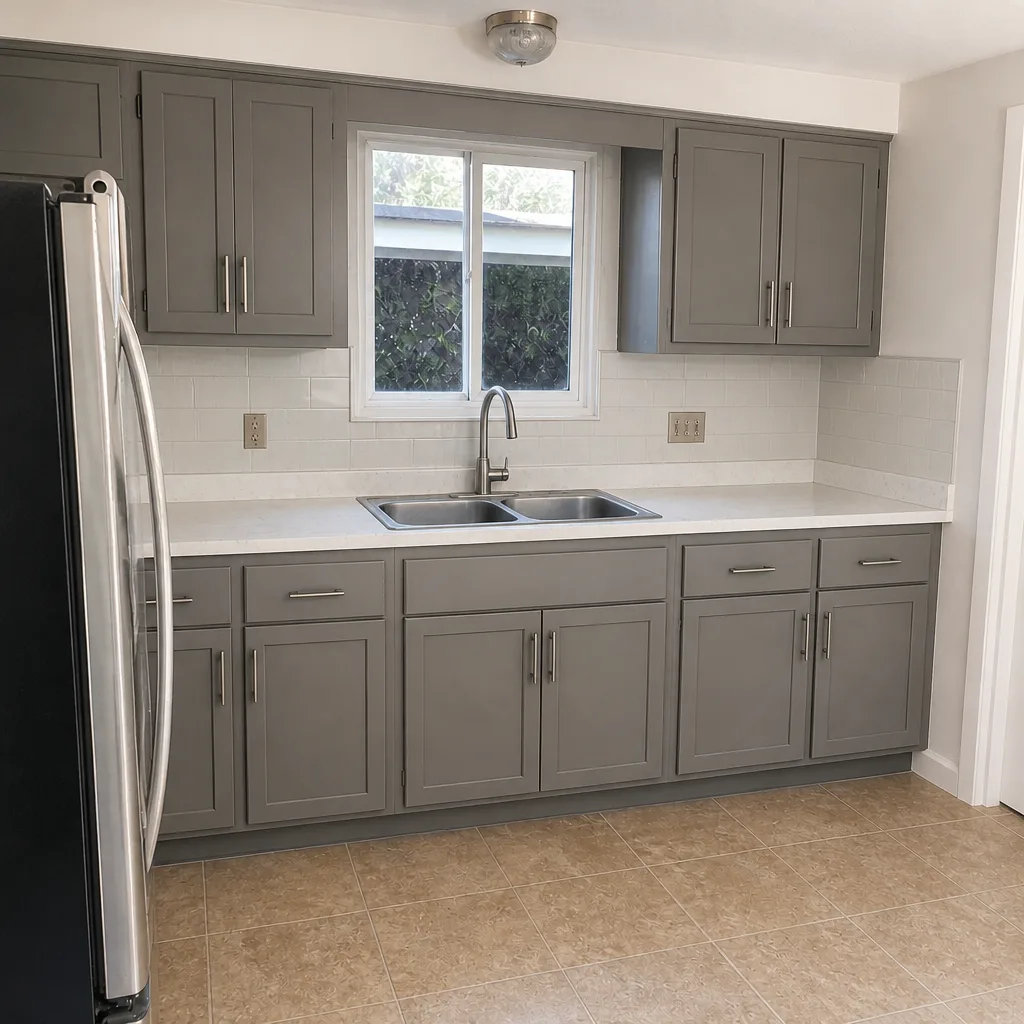 After
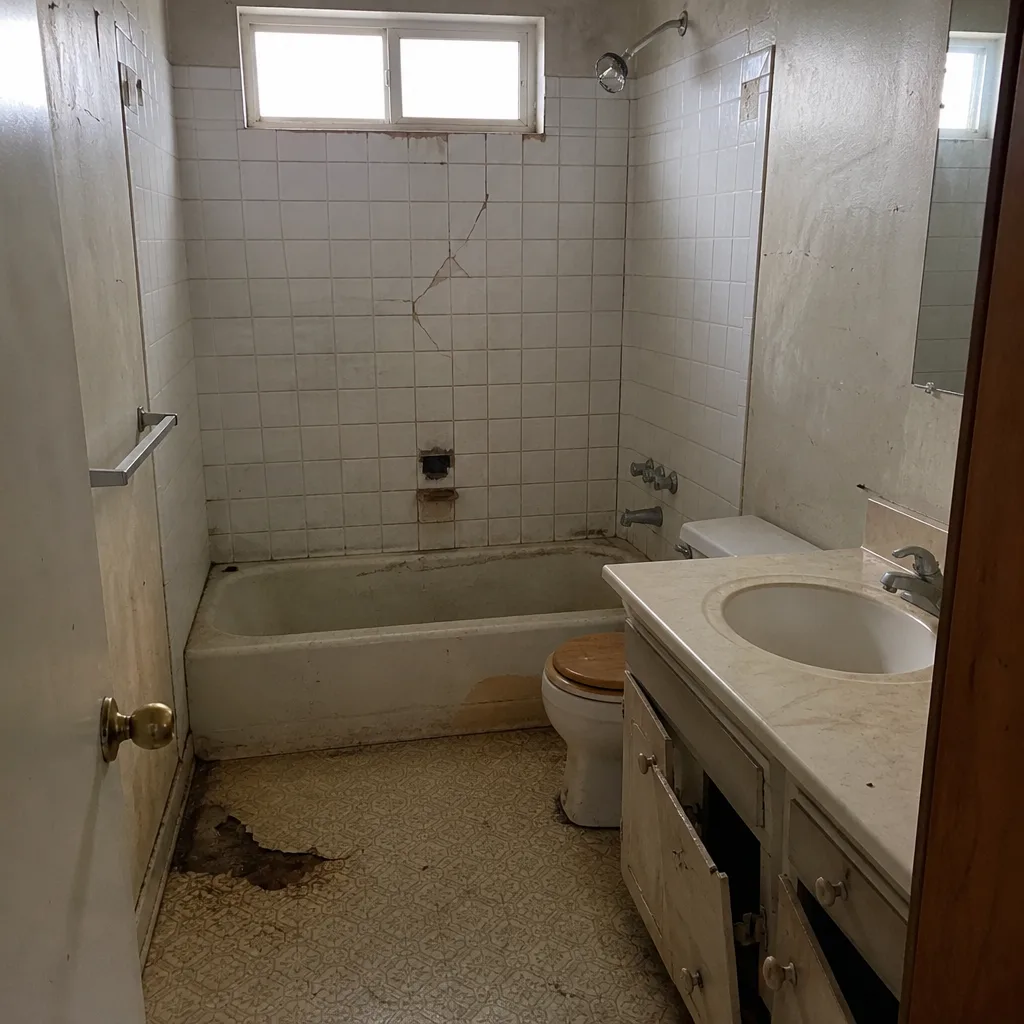 Before
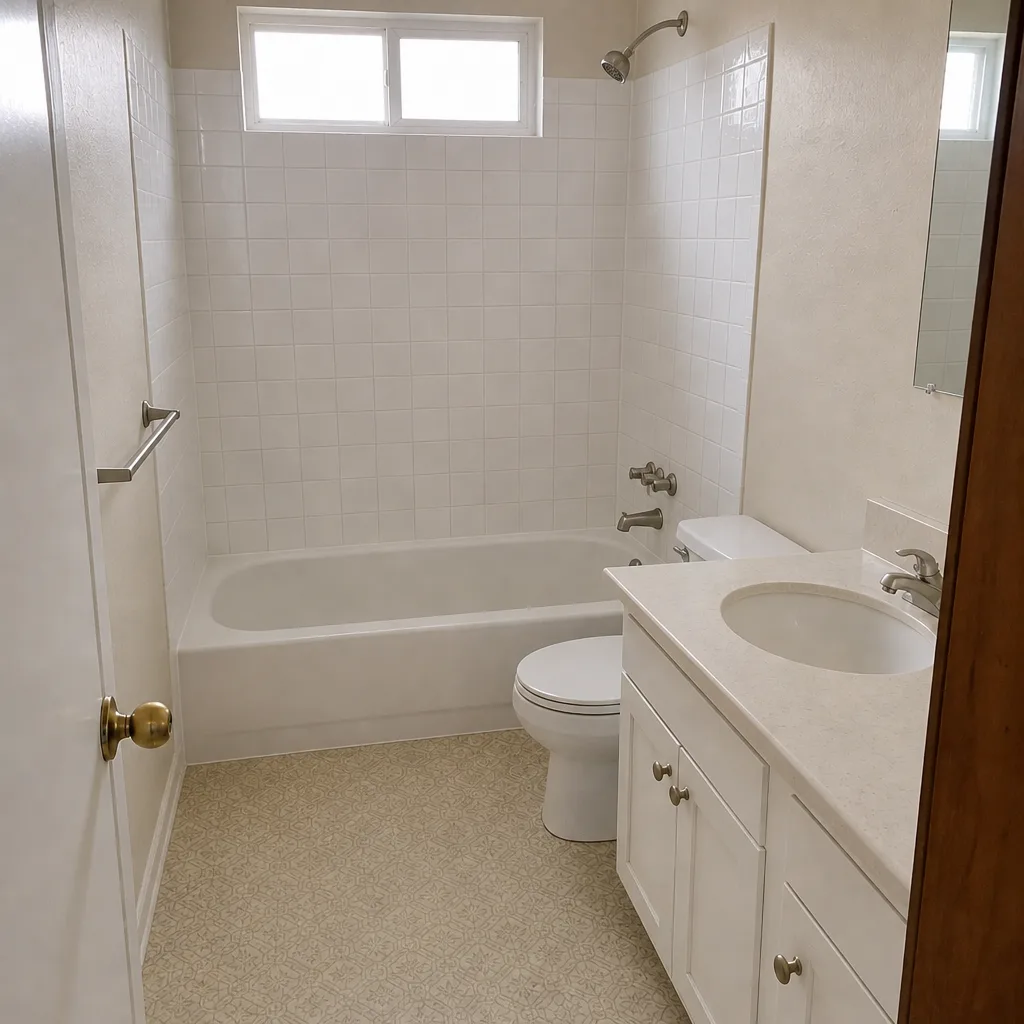 After
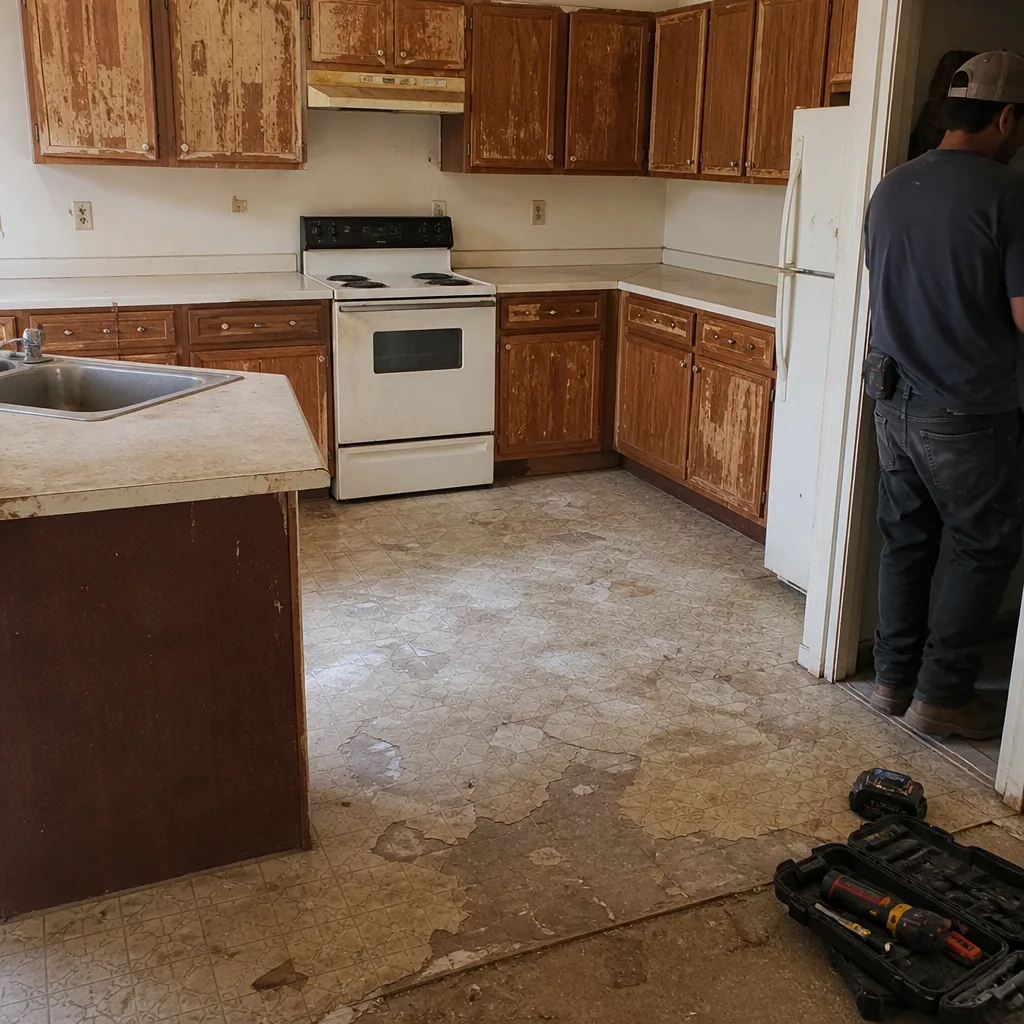 Before
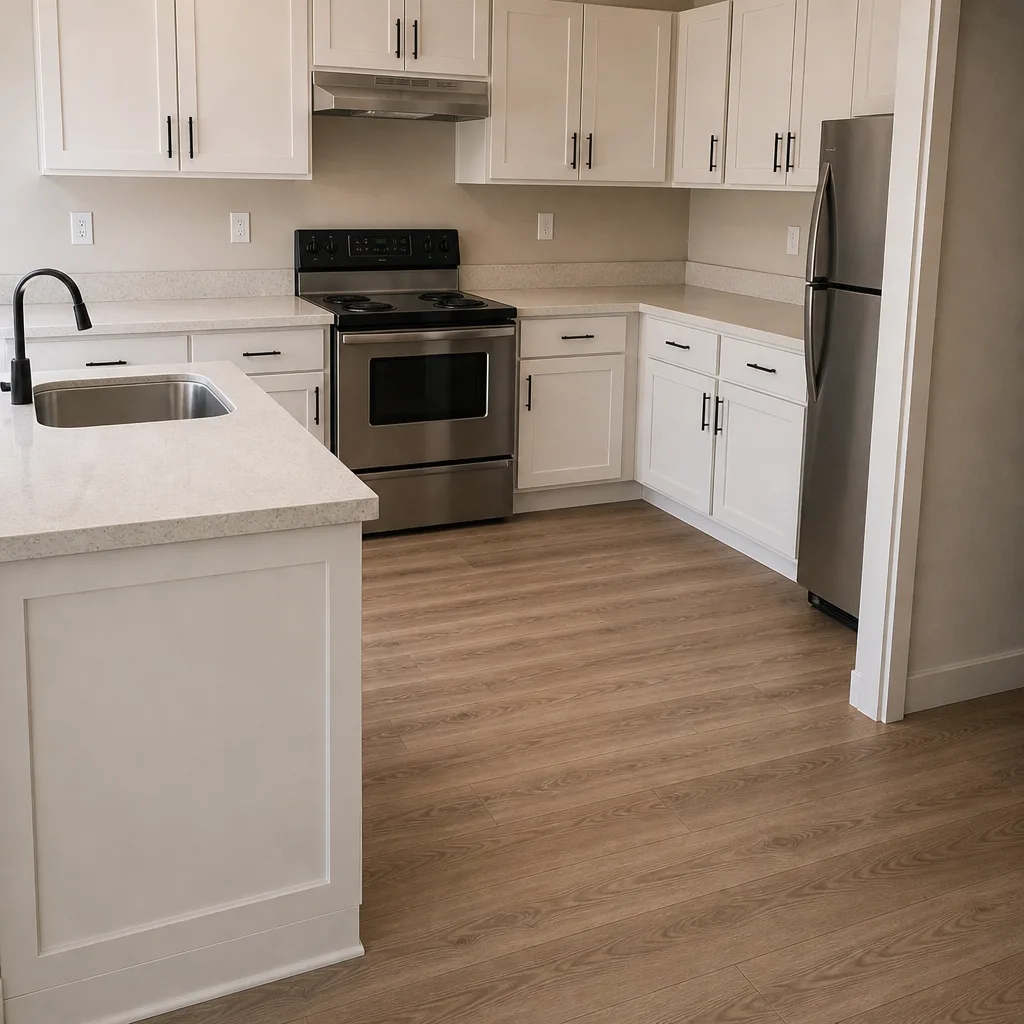 After
When to Call a Professional
Call a licensed professional for anything involving gas lines, electrical panel work, or moving a plumbing drain line – and never try to troubleshoot those yourself. Call your contractor for any defect that isn’t documented in your punchlist, any warranty item that emerges after move-in, any cabinet run that’s out of plumb, and any countertop seam showing beyond spec. Call for two or more items clustered in one area; that’s a sign of a single underlying install problem, not a list of small fixes. And call if your original contractor has gone quiet: The Relay Visibility Guarantee and the 365-Day Done Right Promise are in writing for a full year after close, so we can pick up a punchlist that stalled. Sawyer Remodeling Whitney offers free estimates in Whitney – call (833) 570-8789.
Frequently Asked Questions
First, identify the phase. Before cabinets go up, any layout concern goes back to the pre-installation walkthrough and gets resolved before install. During the build, document the defect with one photo and one line in a numbered punchlist. After move-in, decide if it’s warranty, normal settling, or user error before calling. Each phase gets a different response, and matching the response to the phase is what keeps the fix cheap. Call (833) 570-8789 if you’re not sure which phase you’re in – a quick walk answers it.
Who pays depends on who made the decision that caused it. If your contractor built something differently than the approved plan, they cover the correction. If you supplied a spec after cabinets were built and the appliance doesn’t fit, that’s a shared conversation. If a manufacturer’s product fails under normal use, the manufacturer warranty and the install warranty both apply. The cleanest way to avoid the fight is a written, line-item price and a documented plan before work starts – which is exactly what we provide on every project. Call (833) 570-8789 for a free estimate and a written scope.
Under the 365-Day Done Right Promise, a full year after project close. That said, the two smartest check-in points are 30 days after move-in (catching the first wave of hinge, caulk, and drawer issues) and 6 months (catching settling and seasonal shifts). A defect on the original punchlist should be closed before final payment, and anything that appears after that gets handled under the guarantee. Call (833) 570-8789 to schedule your walkthrough.
Usually not – most hinge misalignment is a two-minute adjustment, not a warranty item. European-style hinges adjust in three planes to align doors. If a door gap persists after adjustment or the cabinet itself is out of plumb, that’s an install defect and belongs on the punchlist or under the 365-Day Done Right Promise. Call (833) 570-8789 and we’ll look – the walk costs nothing.
Yes, for anything structural, electrical, plumbing, or gas. Cosmetic work like paint, backsplash, and cabinet refacing generally doesn’t require one. Any contractor who suggests skipping the permit on a real remodel in Whitney is exposing you to the risk of a failed inspection at resale. Permits pulled and inspections passed are a standard part of how we run projects. Call (833) 570-8789 with your scope and we’ll tell you what’s required.
A design problem is a layout or choice that didn’t account for the real room – the cabinet that blocks the dishwasher, the range hood that doesn’t center, the appliance that doesn’t fit the opening. An install problem is execution of a correct design – a cabinet hung out of plumb, a countertop seam that’s too wide, grout that cracked under normal use. Design problems are fixed by changing the plan, install problems by correcting the work. Knowing which one you have is the whole game. Call (833) 570-8789 for a free estimate if you want a second set of eyes.
The Bottom Line
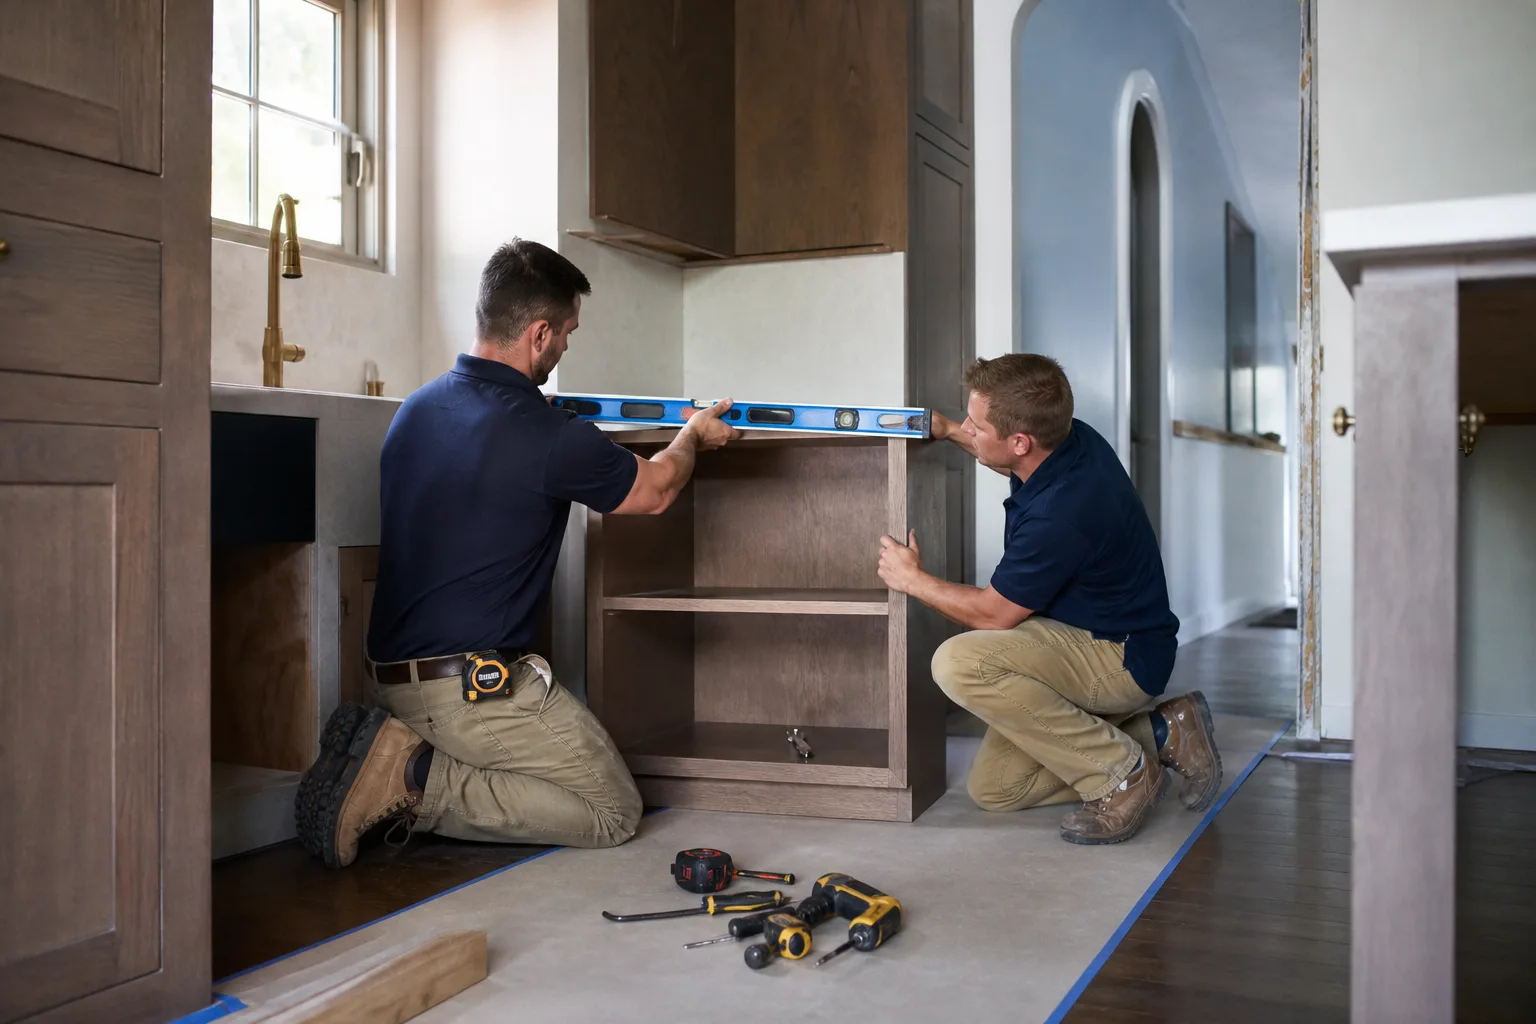
The difference between a cheap fix and a five-figure fix is almost never how bad the problem is. It’s when you catch it. Design flaws belong at the pre-installation walkthrough, before cabinets hang. Rough-in problems belong before the drywall closes, documented with photos. Install defects belong on a numbered, photo-referenced punchlist that gets fixed before final payment. And after move-in, sorting a problem into warranty, normal settling, or user error is what saves you a wasted truck roll. On every one of those phases, a written price, a written guarantee, and a documented walkthrough do the heavy lifting. That’s how we run kitchen work in Whitney, and it’s why the number you approve is the number you pay.
If you’re staring at a kitchen problem right now and want a straight read on what it is and what it costs to fix, Sawyer Remodeling Whitney home is where the conversation starts. Our team of general contractors in Whitney can walk your kitchen with you, and if the fix turns out to be bigger than a punchlist item, our bathroom remodeling in Whitney and kitchen teams handle the full scope. Call (833) 570-8789 for a free estimate – the price comes in writing before any work starts, backed by a 24/7 live phone line and the 365-Day Done Right Promise.
Written by the team at Sawyer Remodeling Whitney.